Porting L4Re and Fiasco.OC to the Ben NanoNote (Part 4)
Saturday, March 24th, 2018As described previously, having hopefully done enough to modify the kernel – Fiasco.OC – for the Ben NanoNote, it then became necessary to investigate the bootstrap package that is responsible for setting up the hardware and starting the kernel. This package resides in the L4Re distribution, which is technically a separate thing, even though both L4Re and Fiasco.OC reside in the same published repository structure.
Before continuing into the details, it is worth noting which things need to be retrieved from the L4Re section of the repository in order to avoid frustration later on with package dependencies. I had previously discovered that the following package installation operation would be required (from inside the l4 directory):
svn update pkg/acpica pkg/bootstrap pkg/cxx_thread pkg/drivers pkg/drivers-frst pkg/examples \
           pkg/fb-drv pkg/hello pkg/input pkg/io pkg/l4re-core pkg/libedid pkg/libevent \
           pkg/libgomp pkg/libirq pkg/libvcpu pkg/loader pkg/log pkg/mag pkg/mag-gfx pkg/x86emu
With the listed packages available, it should be possible to build the examples that will eventually interest us. Some of these appear superfluous – x86emu, for instance – but some of the more obviously-essential packages have dependencies on these other packages, and so we cannot rely on our intuition alone!
Also needed when building a payload is some path definitions in the l4/conf/Makeconf.boot file. Here is what I used:
MODULE_SEARCH_PATH += $(L4DIR_ABS)/../kernel/fiasco/mybuild
MODULE_SEARCH_PATH += $(L4DIR_ABS)/conf/examples
MODULE_SEARCH_PATH += $(L4DIR_ABS)/pkg/io/io/config
BOOTSTRAP_SEARCH_PATH  = $(L4DIR_ABS)/conf/examples
BOOTSTRAP_SEARCH_PATH += $(L4DIR_ABS)/../kernel/fiasco/mybuild
BOOTSTRAP_SEARCH_PATH += $(L4DIR_ABS)/pkg/io/io/config
BOOTSTRAP_MODULES_LIST = $(L4DIR_ABS)/conf/modules.list
This assumes that the build directory used when building the kernel is called mybuild. The Makefile will try and copy the kernel into the final image to be deployed and so needs to know where to find it.
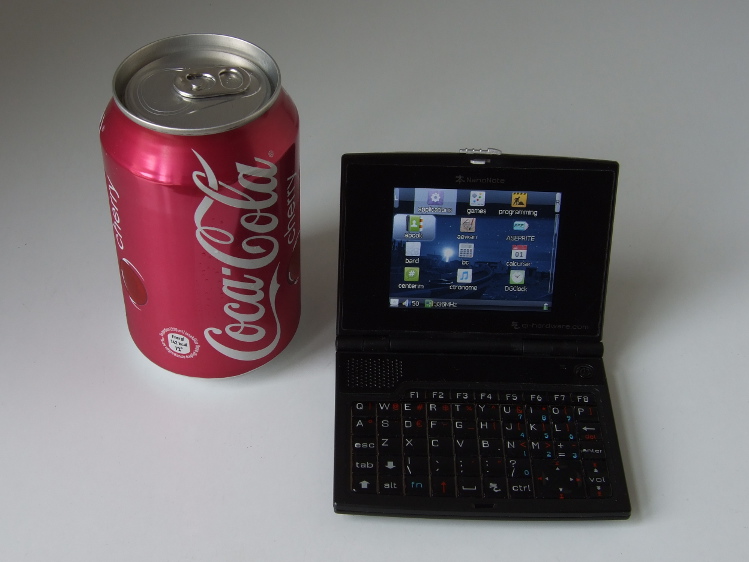
Describing the Ben (Again)
Just as we saw with the kernel, there is a need to describe the Ben and to audit the code to make sure that it stands a chance of working on the Ben. This is done slightly differently in L4Re but the general form of the activity is similar, defining the following:
- An architecture version (MIPS32r1) for the JZ4720 (in l4/mk/arch/Kconfig.mips.inc)
- A platform configuration for the Ben (in l4/mk/platforms)
- Some platform details in the bootstrap package (in l4/pkg/bootstrap/server/src)
- Some hardware details related to memory and interrupts (in l4/pkg/io/io/config/plat-qi_lb60)
For the first of these, I introduced a configuration setting (CPU_MIPS_32R1) to allow us to distinguish between the Ben’s SoC (JZ4720) and other processors, just as I did in the kernel code. With this done, the familiar task of hunting down problematic assembly language instructions can begin, and these can be divided into the following categories:
- Those that can be rewritten using other instructions that are available to us
- Those that must be “trapped” and handled by the kernel
Candidates for the former category include all unprivileged instructions that the JZ4720 doesn’t support, such as ext and ins. Where privileged instructions or ones that “bridge” privileges in some way are used, we can still rewrite them if they appear in the bootstrap code, since this code is also running in privileged mode. Here is an example of such privileged instruction rewriting (from l4/pkg/bootstrap/server/src/ARCH-mips/crt0.S):
#if defined(CONFIG_CPU_MIPS_32R1)
       cache   0x01, 0($a0)     # Index_Writeback_Inv_D
       nop
       cache   0x08, 0($a0)     # Index_Store_Tag_I
#else
       synci   0($a0)
#endif
Candidates for the latter category include all awkward privileged or privilege-escalating instructions outside the bootstrap package. Fortunately, though, we don’t need to worry about them very much at all. Since the kernel will be obliged to trap them, we can just keep them where they are and concede that there is nothing else we can do with them.
However, there is one pitfall: these preserved-but-unsupported instructions will upset the compiler! Consider the use of the now overly-familiar rdhwr instruction. If it is mentioned in an assembly language statement, the compiler will notice that amongst its clean MIPS32r1-compliant output, something is inserting an unrecognised instruction, yielding that error we saw earlier:
Error: opcode not supported on this processor: mips32 (mips32)
But we do know what we’re doing! So how can we persuade the compiler? The solution is to override what the compiler (or assembler) thinks it should be producing by introducing a suitable directive as in the following example (from l4/pkg/l4re-core/l4sys/include/ARCH-mips/cache.h):
  asm volatile (
    ".set push\n"
    ".set mips32r2\n"
    "rdhwr %0, $1\n"
    ".set pop"
    : "=r"(step));
Here, with the .set directives, we switch this little region of code to MIPS32r2 compliance and emit our forbidden instruction into the output. Since the kernel will take care of it in the end, the compiler shouldn’t be made to feel that it has to defend us against it.
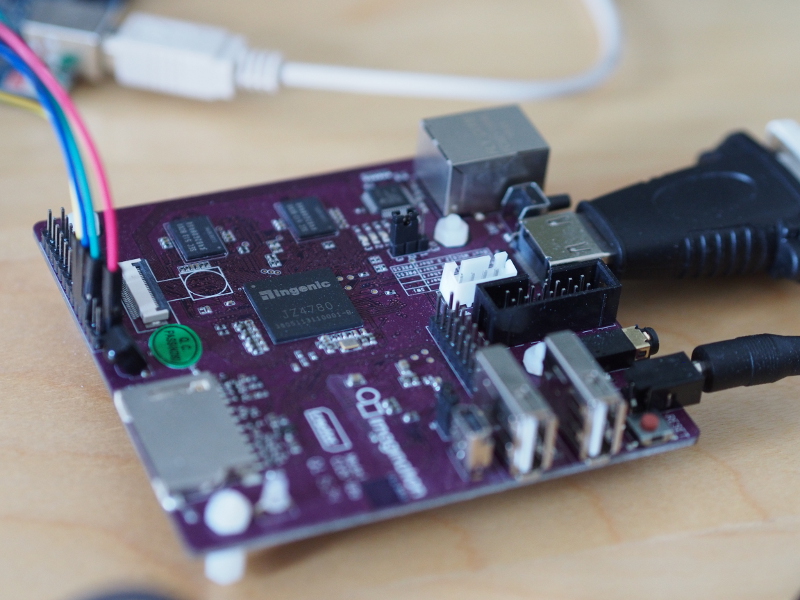
In L4Re, there are also issues experienced with the CI20 that will also affect the Ben, such as an awkward and seemingly compiler-related issue affecting the way programs are started. In this regard, I just kept my existing patches for these things applied.
My other platform-related adjustments for the Ben have mostly borrowed from support for the CI20 where it existed. For instance, the bootstrap package’s definition for the Ben (in l4/pkg/bootstrap/server/src/platform/qi_lb60.cc) just takes the CI20 equivalent, eliminates superfluous features, modifies details that are different between the SoCs, and changes identifiers. The general definition for the Ben (in l4/mk/platforms/qi_lb60.conf) merely acknowledges differences in some basic platform details.
The CI20 was not supported with a hardware definition describing memory regions and interrupts used by the io package. Taking other devices as inspiration, I consulted the device documentation and wrote a definition when experimenting with the CI20. For the Ben, the form of this definition (in l4/pkg/io/io/config/plat-qi_lb60/hw_devices.io) remains similar but is obviously adjusted for the SoC differences.
Device Drivers and Output
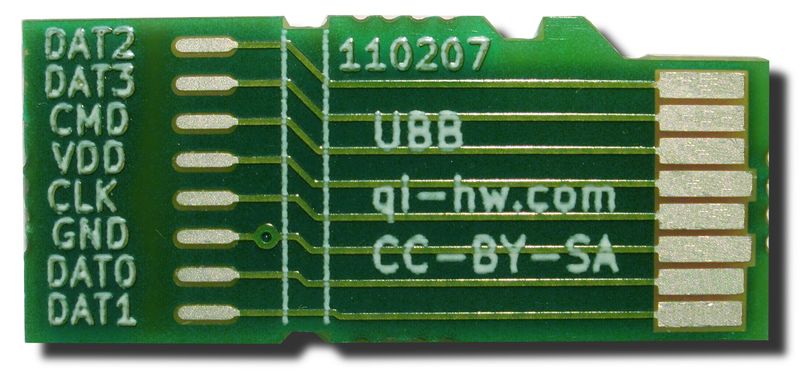
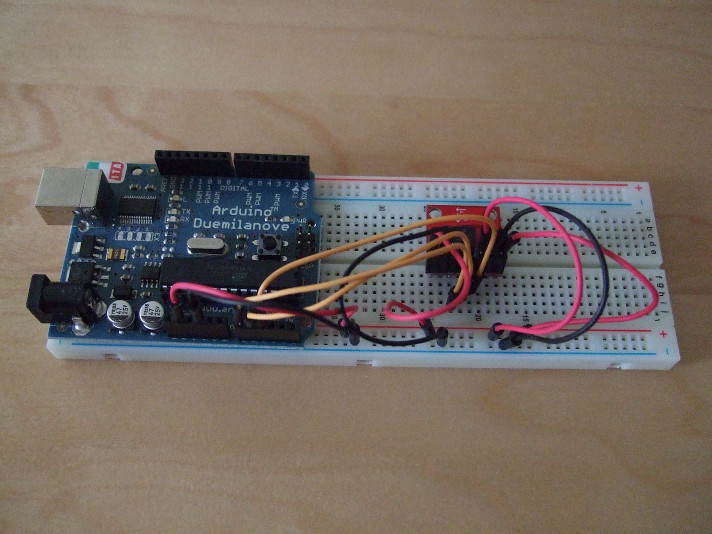
One topic that I have not really mentioned at all is that pertaining to device drivers. I would not have even started this work if I didn’t feel there was a chance of seeing some signs of success from the Ben. Although the Ben, like the CI20, has the capability of exposing a serial console to the outside world, meaning that it can emit messages via a cable to another computer and receive input from that computer, unlike the CI20, its serial console pins are not particularly convenient to use: they really require wires to be soldered to some tiny pads that are found in the battery compartment of the device.
Now, my soldering skills are not very good, and I also want to be able to put the battery back into the device in future. I did try and experiment by holding wires against the pads, this working once or twice by showing output when booting the Ben into its more typical Linux-based environment. But such experiments proved to be unsustainable and rather uncomfortable, needing some kind of “guitar grip” while juggling cables and holding down buttons. So I quickly knew that I would need to get output from the Ben in other ways.
Having deployed low-level payloads to the Ben before, I knew something about the framebuffer, so I had some confidence about initialising it and getting something on the screen that might tell me what has or hasn’t happened. And I adapted my code from this previous effort, itself being derived from driver code written by the people responsible for the Ben, wrapping it up for L4Re. I tried to keep this code minimally different from its previous incarnation, meaning that I could eliminate certain kinds of mistakes in case the code didn’t manage to do its job. With this in place, I felt that I could now consider trying out my efforts and seeing what, if anything, might happen.
Attempting to Bootstrap
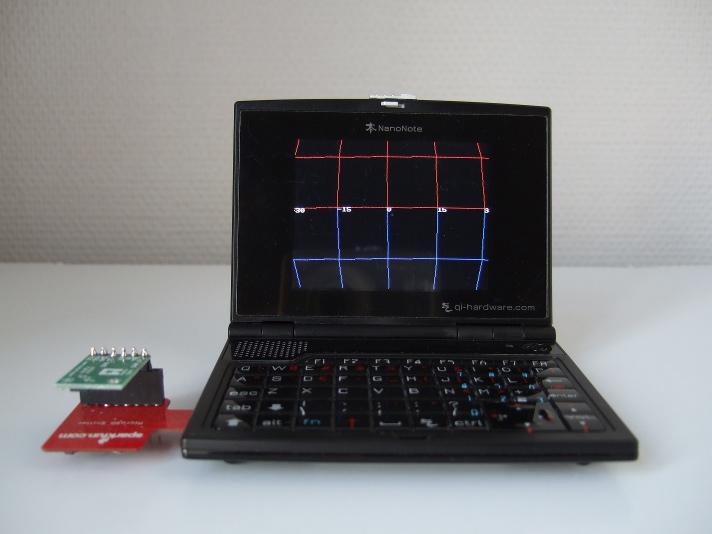
Being in the now-familiar position of believing that enough has been done to make the software run, I now considered an attempt at actually bootstrapping the kernel. It may sound naive, but I almost expected to be able to compile everything – the kernel, L4Re, my drivers – and for them all to work together in harmony and produce at least something on the display. But instead, after “Starting kernel …”, nothing happened.
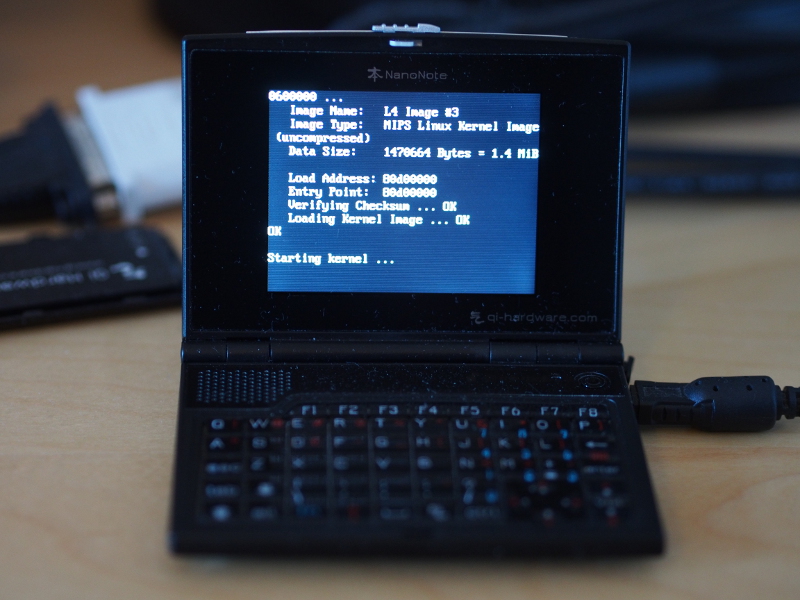
The Ben NanoNote trying to boot a payload from the memory card
It should be said that in these kinds of exercises, just one source of failure need present itself and the outcome is, of course, failure. And I can confirm that there were many sources of failure at this point. The challenges, then, are to identify all of these and then to eliminate them all. But how can you even know what all of these sources of failure actually are? It seemed disheartening, but then there are two kinds of strategy that can be employed: to investigate areas likely to be causing problems, and to take every opportunity to persuade the device to tell us what is happening. And with this, the debugging would begin.

