Veel liefde vanuit Hack42
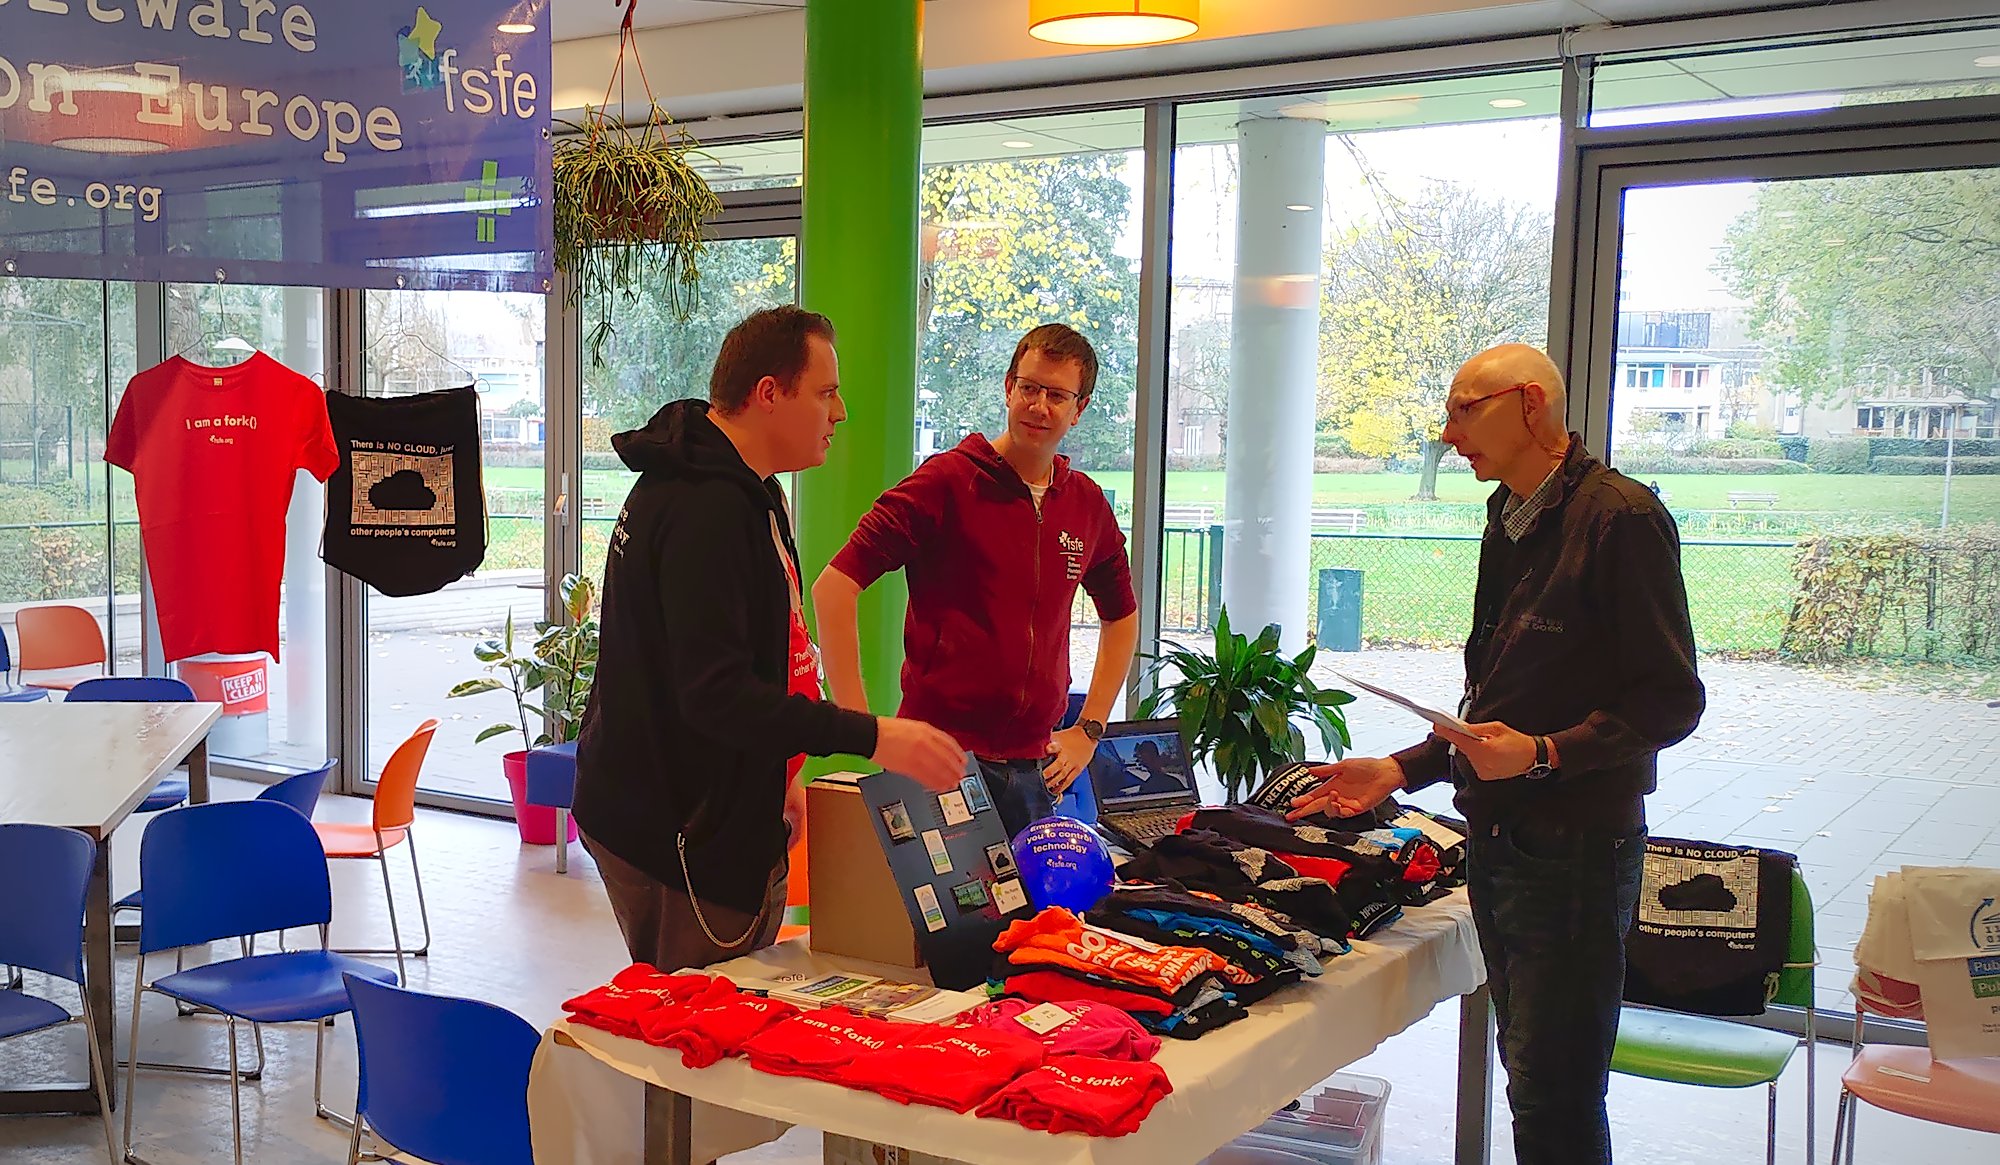
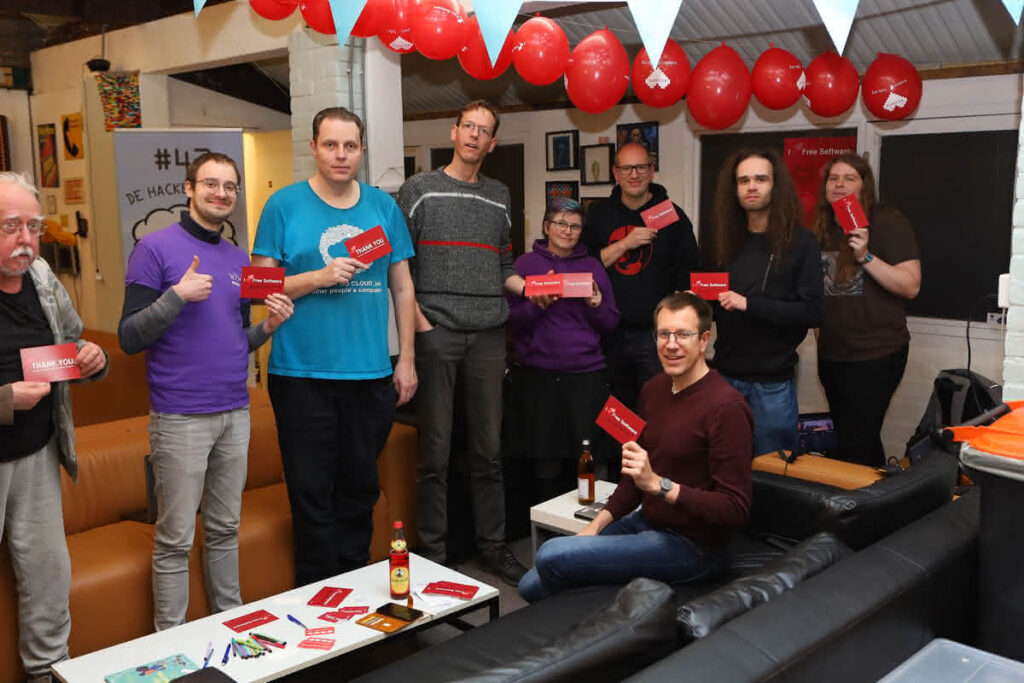
“I Love Free Software Day” is een leuke positieve campagne van de FSFE om op valentijnsdag de mensen te bedanken die vrije software mogelijk maken. Met vele bijeenkomsten is het ook een goede gelegenheid om gezellig samen te komen. In Nederland was er een workshop in Den Haag en hadden we een bijeenkomst in Arnhem bij hackerspace Hack42.
De bijeenkomst begon met een rondleiding voor iedereen die nog niet in de hackerspace was geweest. Helemaal omdat Hack42 nog maar kort op de nieuwe locatie zit. Toen konden we echt beginnen. Eerst een voorstelronde onder het genot van stukken pizza. Iedereen vertelde over persoonlijk ervaringen met vrije software en over de software en mensen die een bedankje verdienden.
Op deze manier maakten we kennis met veel verschillende software: webbrowsers Waterfox en Firefox, browser extensie Vimium, desktopomgeving KDE, muziekprogramma Audacity, tekstverwerker Vim (in memoriam Bram Moolenaar), foto importsoftware Rapid Photo Downloader, smartphone besturingssystemen CalyxOS en UBports, smartphone installer OpenAndroidInstaller catalogussoftware Omeka, compiler Free Pascal, persoonlijke cloudomgeving Nextcloud, documentverwerker LibreOffice en huisautomatiseringsoftware Home Assistant. Dat was een enorm inspirerende en leerzame rondgang. Opmerkelijk was dat voor vrijwel iedereen Firefox een van de eerste vrije software applicaties was.
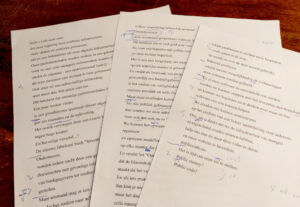
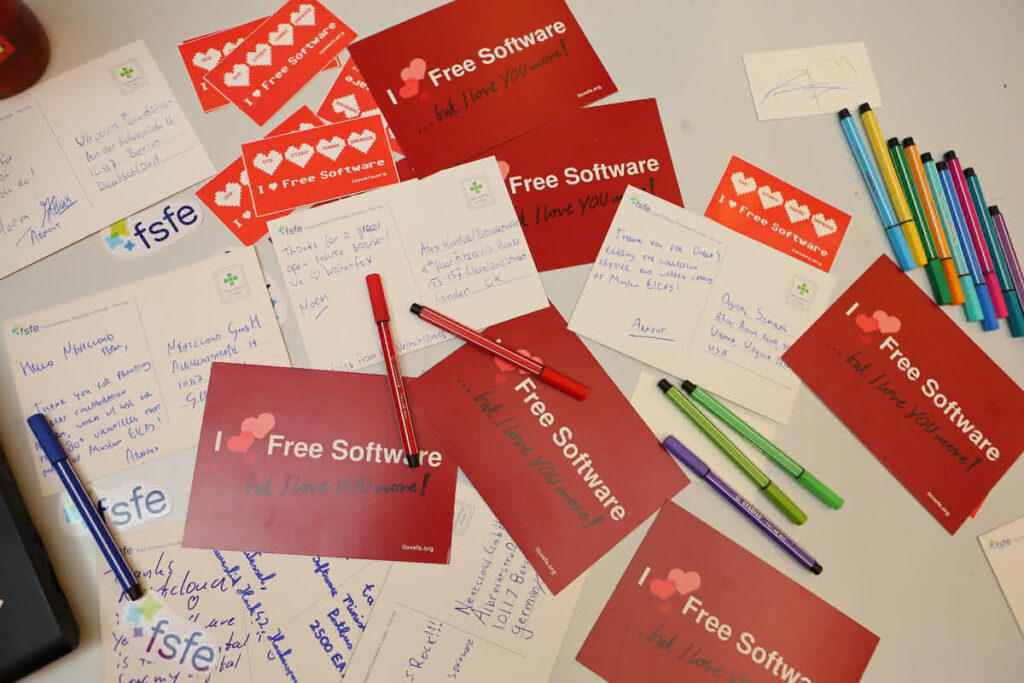
Het schrijven van bedankjes begon vooral met wat emails en chatberichten omdat van veel projecten en ontwikkelaars geen postadres bekend is. Maar na wat zoeken kwamen er steeds meer handgeschreven I Love Free Software Day-briefkaarten op tafel te liggen, klaar om te versturen. Het was mooi om te zien hoe de samenwerking werd gezocht door elkaars kaarten te steunen met een ondertekening. Terwijl we bezig waren zagen we online op social media ook al de nodige bedankjes. Zo viel ons oog op de geanimeerde harten door Fedora.
Het was een gezellige avond die echt de community bij elkaar heeft gebracht. Trots ben ik op het enthousiasme en de lieve woorden. Hopelijk hebben de gestuurde bedankjes een grote impact.
Ik kijk nu al uit naar de liefdevolle bijeenkomst volgend jaar.
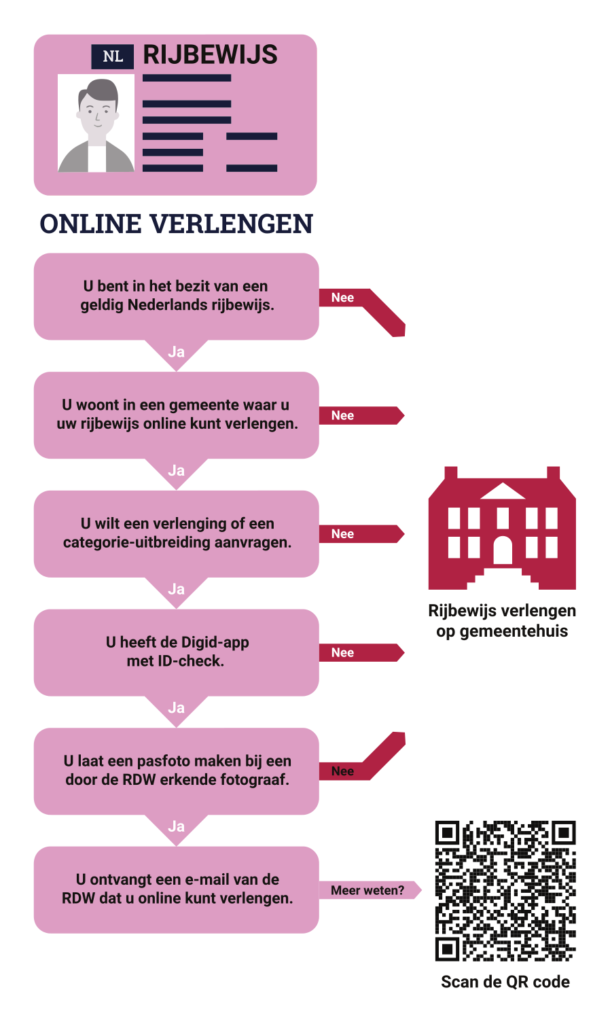
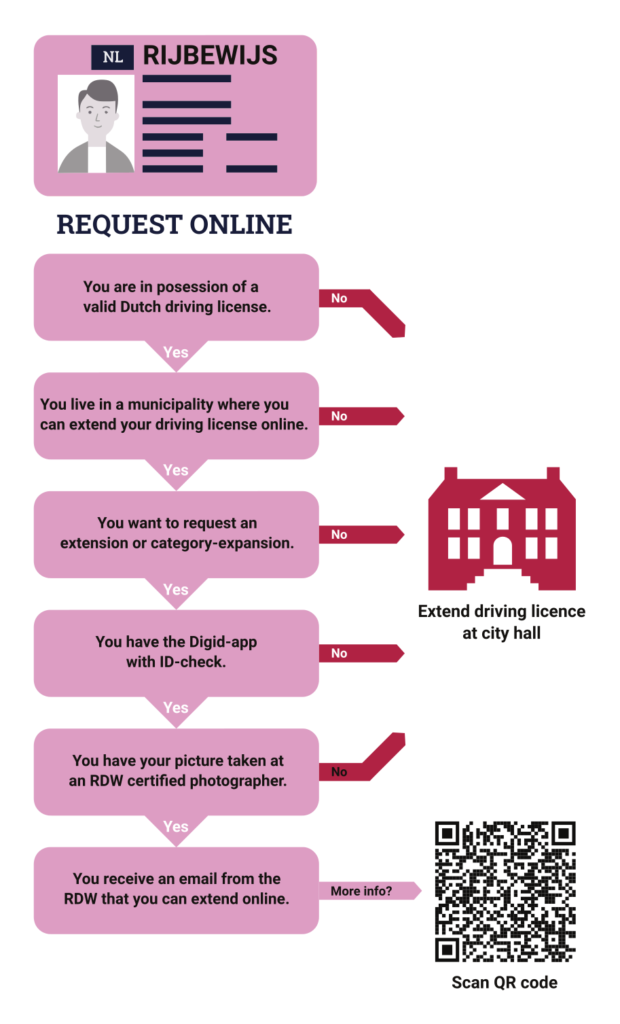 Rijbewijs beslisboom zoals weergegeven in de brief.
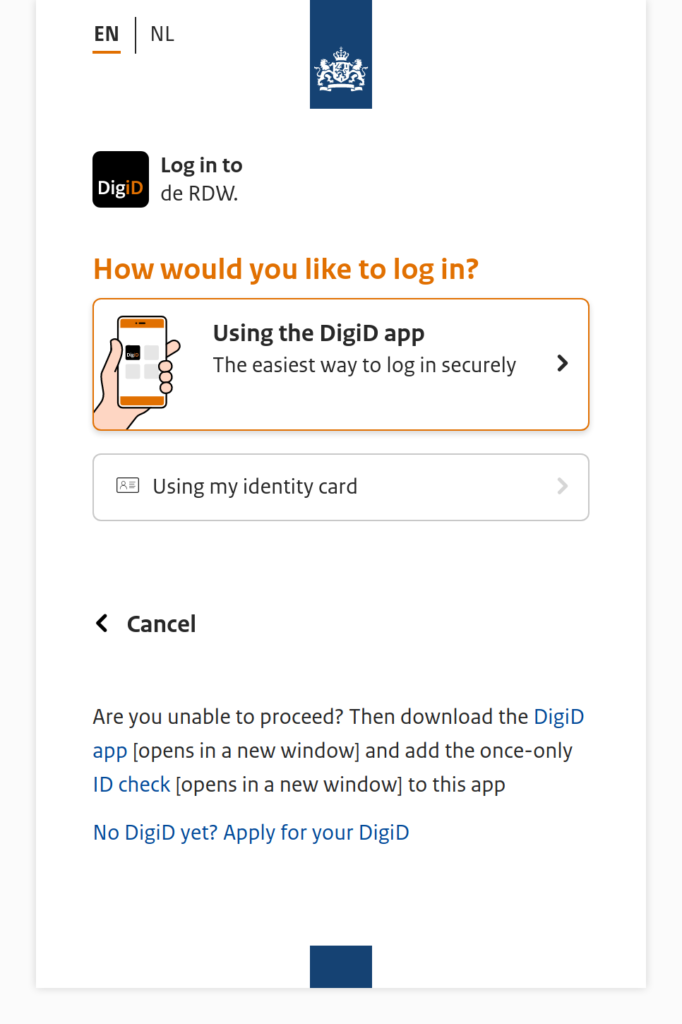 DigiD prompt
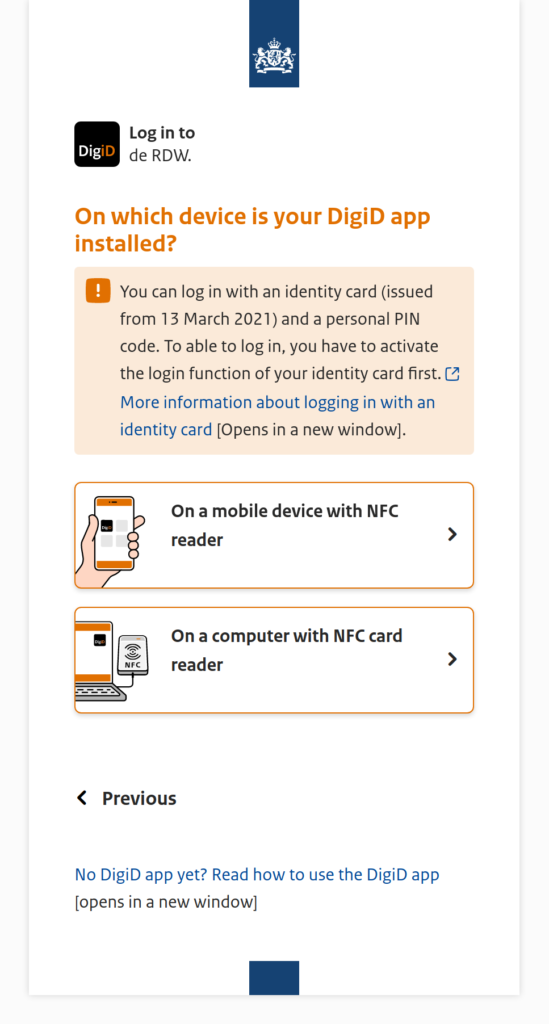 DigiD prompt for NFC cards
 Rijbewijs beslisboom zoals weergegeven in de brief.
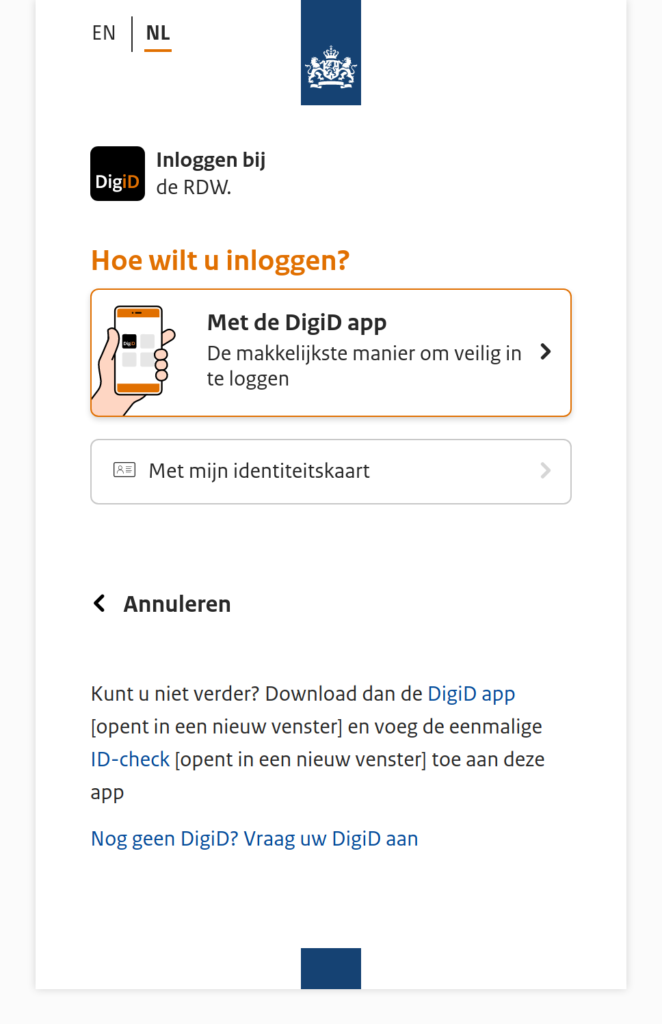 DigiD scherm
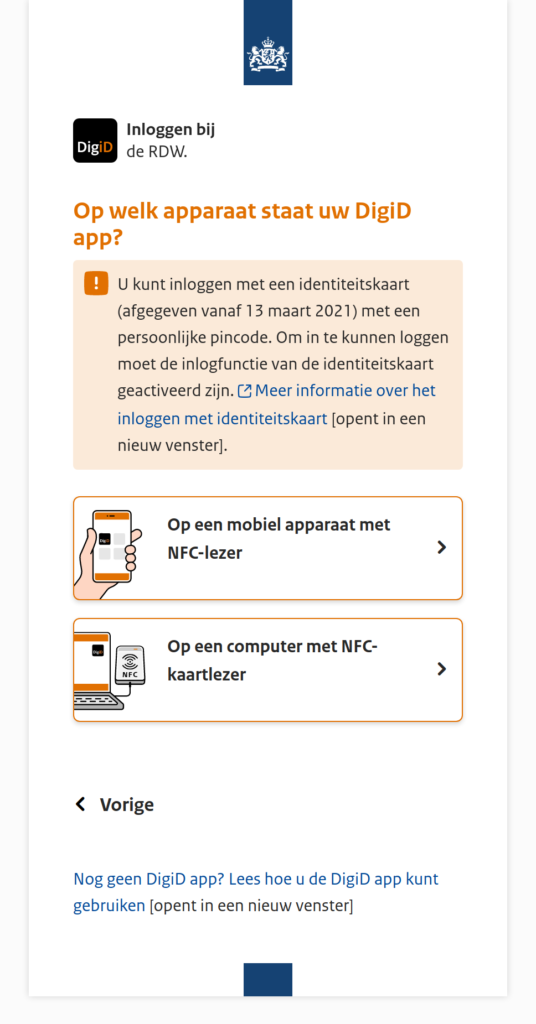 DigiD scherm voor NFC-kaarten