


anna.morris's blog
Just another FSFE Fellowship Blogs site
phplist hosted: how to use a template to send an email
This blog is the product of help I am giving to the Manchester Peoples Assembly, who would like to send a few emails a month to about 700 people. I have volunteered to set this up for them, I am using only free software, and I am using the taxt to expand my blog section on phplist hosted. This guide is mainly a guide for Penny, who will be sending the emails, but 90% of it will be reusable for anyone 🙂 Have fun!
This blog assumes you already have your template ready and a phplist hosted account already set up (guide to follow).
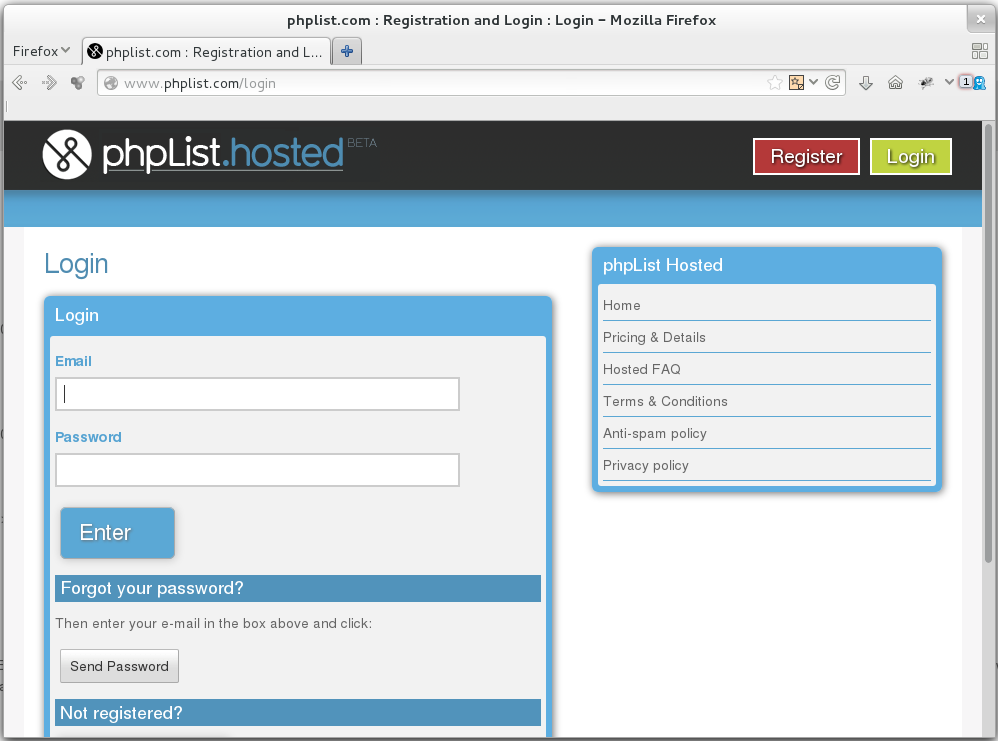
1) Log in to phplist.com/login
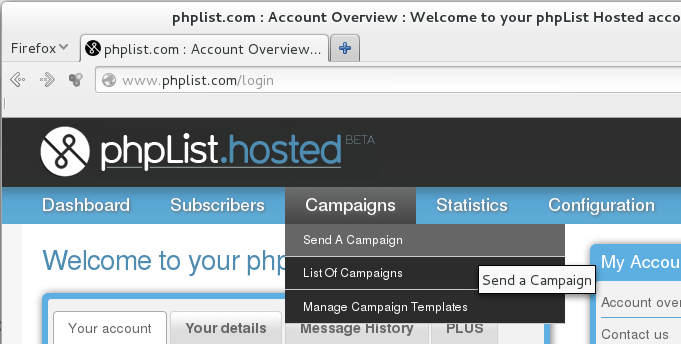
2) Click on Campaigns > Send A Campaign
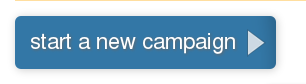
3) Click the button which says start a new campaign
4) Open your template file in a text editor, you can follow step two here if you don’t know how. Once you have your template open, select all of the text and copy it. Next, go back to your web browser and click on the little tab which says Source
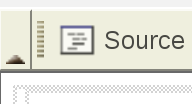
Paste your template into the box. Click on the source button again and you should see your email template, ready to fill out.

5) You can edit the text here, bear in mind there may not be a spell checker. If you decide to copy and paste the text in, please paste the text into a text editor first to make sure there is no stray formatting from inside your word-processor (this is important). Example 3 here will tell you more.
6) At this stage, you should save your work. Note – its a VERY good idea to go to the Source button, select and copy all of your code, and then paste it into a text editor, before you press save. This will create a back up just in case your login has timed out or similar. If the save fails, you can simply paste the code back in again 🙂
7) Once you have saved your work, go back into the message. The message will be stored in the “draft” campaigns tab. It’s now time to work on the footer box of the editing window.
8) Open your footer template in your text editor. Select all the code, copy it. Then go back to your browser and select all of the code in the “footer” box – press delete. Then paste your footer code into that box. The whole process is shown in image below.

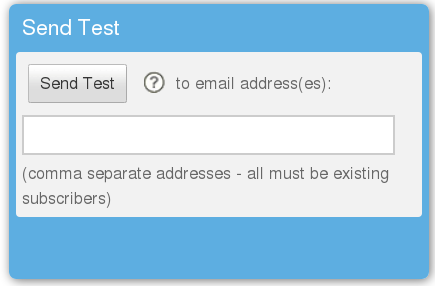
9) You can now send a test to yourself. In this instance you should use the email that the account is in, as it is simplest. Enter your email into the box and press send. Note that you can only send one test a minute.
8) Keep changing and testing until you are happy.
9) When you are ready to send, you need to make a copy of your email and host it somewhere on-line so it can be linked to the email (at the top, where it says “view in browser.” This is for people who’s email software can’t handle fancy html emails very well. In this instance, I will be hosting the email so you need to call me 😉
10) I will send you back a link which you will need to pop into the email (I will help) and then you are ready to send!