


anna.morris's blog
Just another FSFE Fellowship Blogs site
Greenpeace shard #iceclimb trends on twitter but bombs on google news…
July 11th, 2013
NEWS:
Ufohunterorguk.com point out out on Greenpeace radio iceclimb show that, despite many hours of global treading on Twitter, comments from the UK deputy PM and reports by several major news papers including the 9th biggest global news paper* The Sun, the #iceclimb story is not mentioned on Google news (uk) at all.
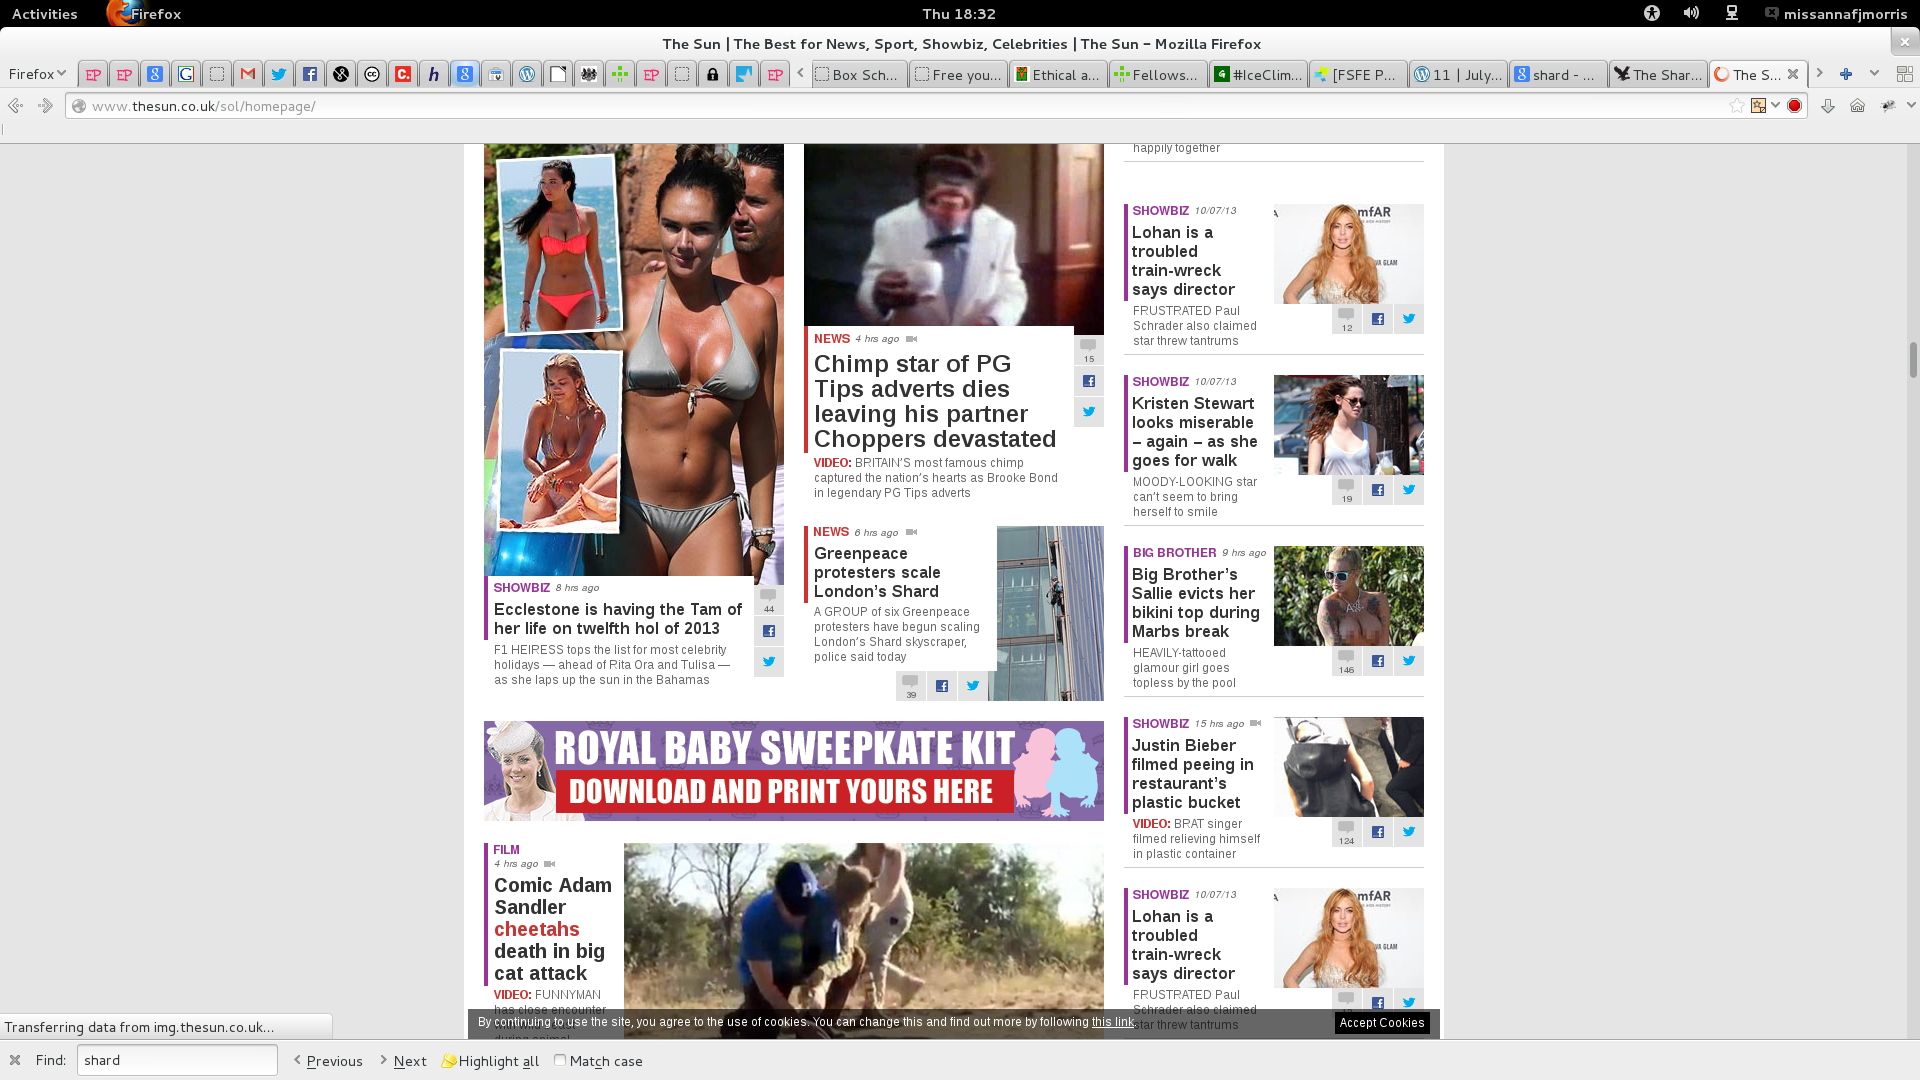
Iceclimb is front page news in The Sun which is the largest news paper in the UK and the 9th largest in the world ...
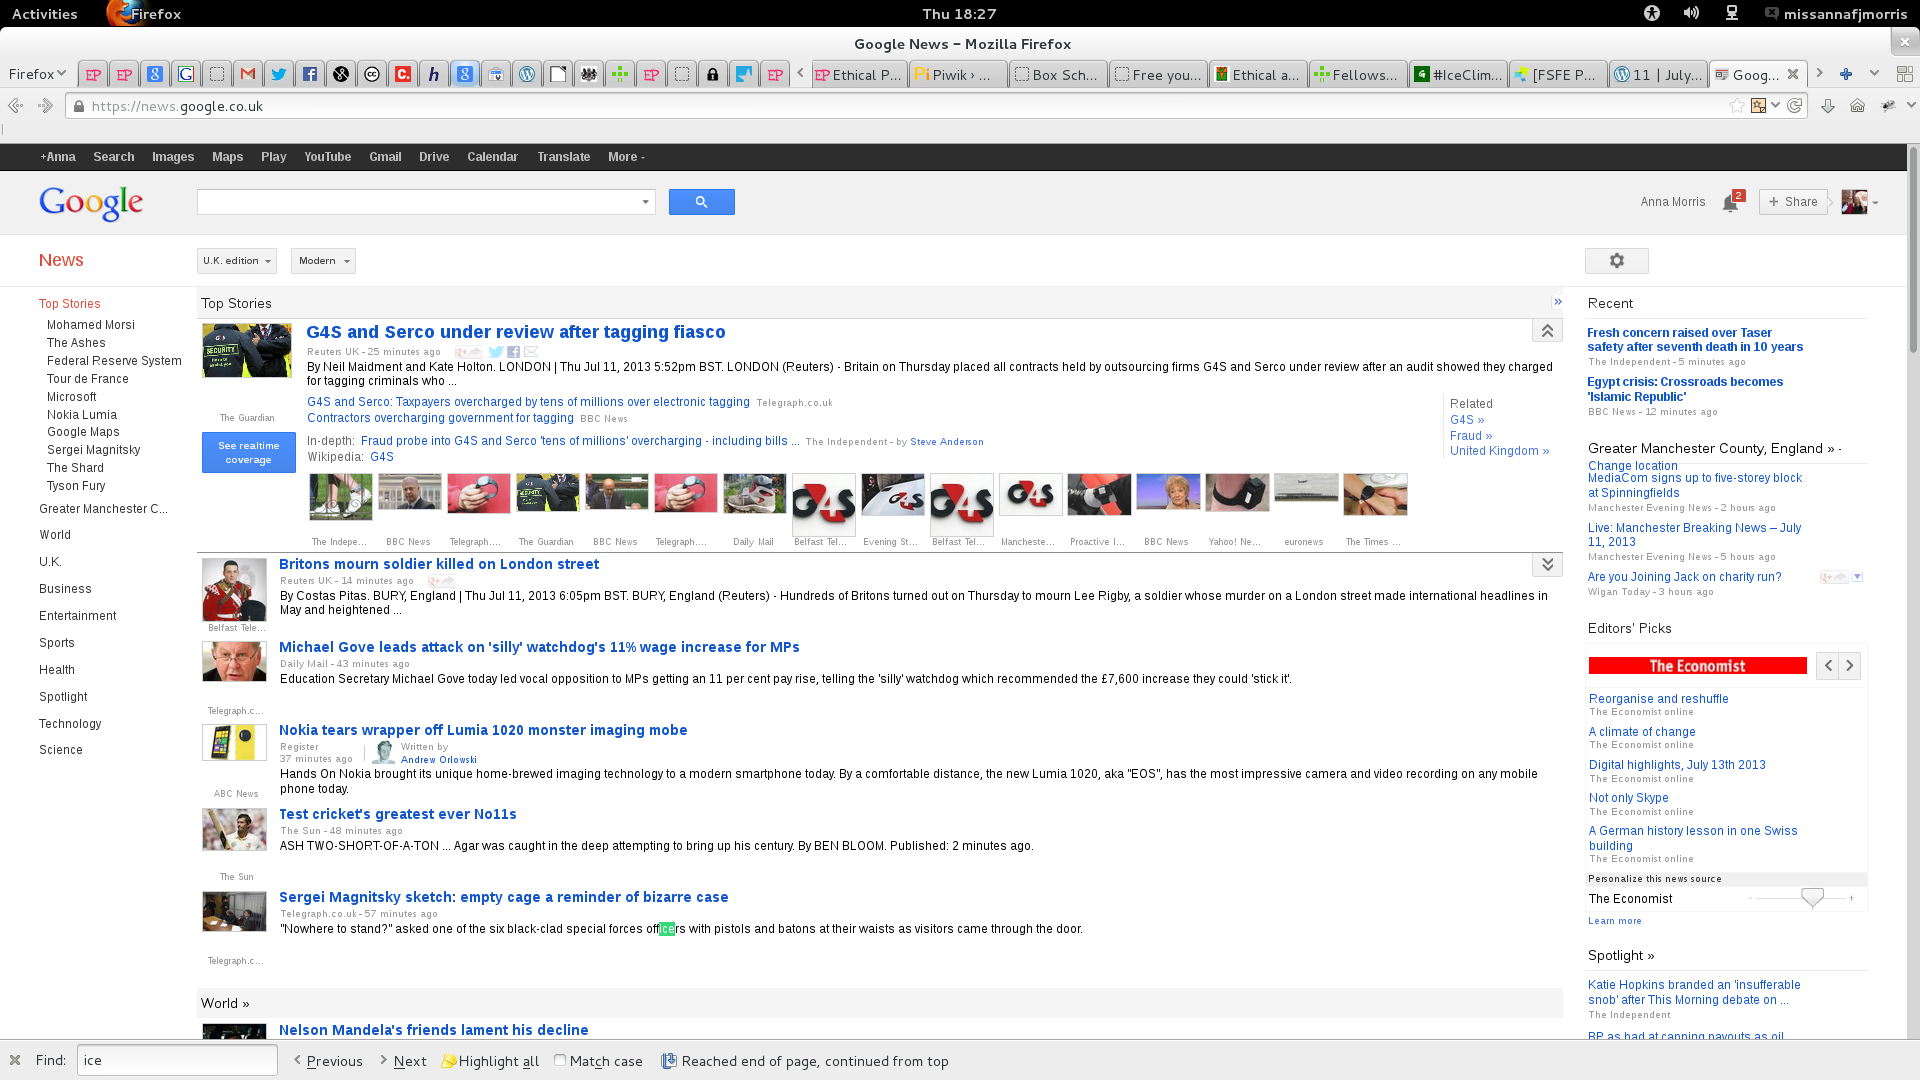
... and yet it is not on Google News at all!
* according to wikipedia
How to stay in the HTML5 trial when you clear your cookies
June 6th, 2013
I recently made a video and how-too guide for Documentfreedom.org about how to watch videos on YouTube using HTML5. You can checkout that info here.
The problem with the YouTube “trial” system is that it uses a cookie to record your “in the trial” status. Many of us who wish to join the future by using HTML5 for video and audio also like to clear out cookies regularly, to avoid being “followed” by creepy internet marketing people: however, by doing this we also clear the cookie which keeps them in the HTML5 trial.
Below are two guides for how to keep the HTML5 trial cookie whilst deleting others. The first guide is simple and requires little future action, but less effective at isolating the cookie: the second guide is slightly less simple, requires more regular action in the future, targets the exact cookie for the HTML5 trial. This guide is only for Firefox users for now, but “Method Three” invites people to share there knowledge of how to achieve the same thing in other browsers, and through other methodologies.
Method One: very simple.
This first method is very simple. It assumes we want to remove all cookies when we close Firefox and that all cookies from YouTube will be accepted (or “Whitelisted.” This method is therefore less effective than method two, as there will probably be other cookies relating to advertising etc from YouTube stored as well as the HTML5 trial cookie. However, you won’t need to take any further steps or routines relating to the this topic once you are done. Once you have followed this guide, you will be all set to forget about this issue (or at least until you next upgrade your browser when you may need to await add-on compatibility). For this method we will use Selectivecookiedelete, which is licensed under the GPL compatible Mozilla Public License 1.1.
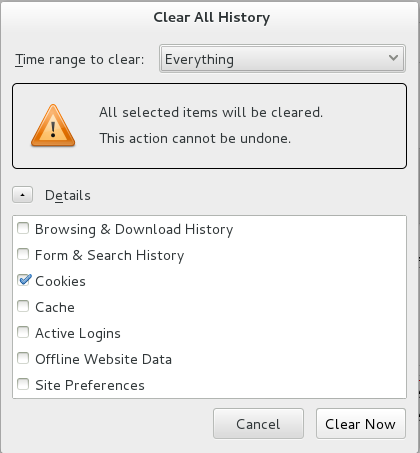
1. Clear all cookies by going Tools > Clear Recent History, selecting cookies and clicking Clear Now
2.. Download the app here by clicking
![]()
After download is finished, you will be prompted to restart your browser. Once you have restarted go to www.youtube.com/html5 …
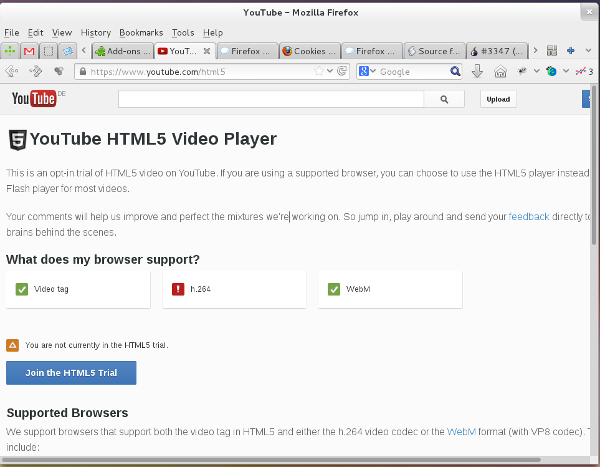
…and click to join the html5 trial.
Then go to Tools > Selective Cookie Delete > Show Preferences
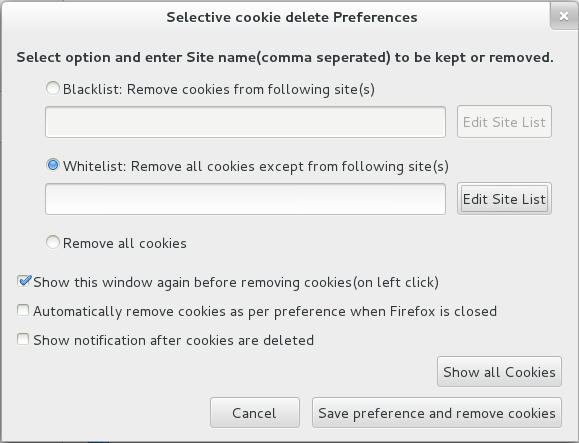
We want to add our HTML5 cookie into the “whitelist” box, so, we click Edit Site List and we see the following dialogue box:
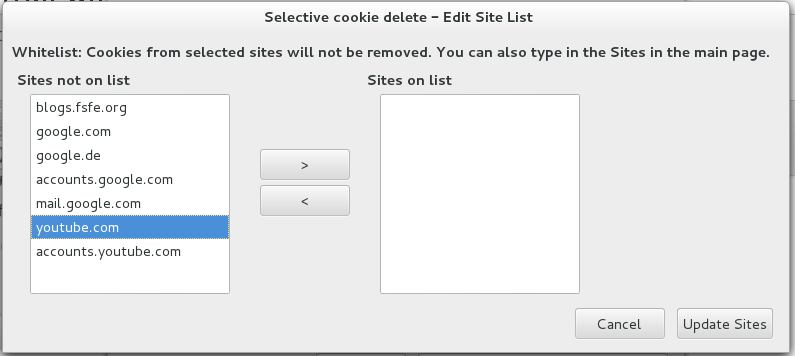
We need to click on “youtube.com” (not accounts.youtube.com) and then click on the right pointing arrow
![]()
And then we should see youtube.com on the list of websites who’s cookies will not be deleted:

If you wish to add other sites to this list, you may do so, for example, I would be happy to permanently keep cookies from my FSFE blog by adding blogs.fsfe.org to my whitelist. I know that these cookies are mostly related to my blog preferences and I know that FSFE is not / unlikely to be using cookies in a way that is unacceptable to me. However, I am less happy with stroring google’s cookies (even though I use their services every day) because Google has a poor privacy record. You will see cookies from most sites appear in the list after you have visited them, so you may want to check back here a few times over the next few days and see who else you wish to whitelist.
Click Update Sites when you are done with this stage.
We have only one more step to take to make our cookie deletion automatic:
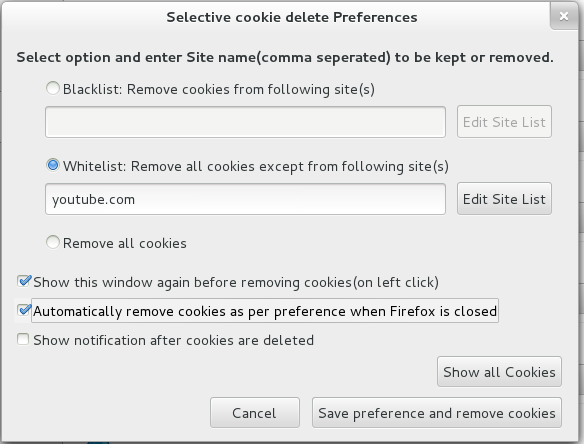
We need to check the “Automatically remove cookies ….” box. This means that all cookies, except those on our whitelist, will be deleted when we close our browser.
Note that it may still be worth removing cookies periodically while you are still using your browser, for example, while you are browsing shops on-line. You do this by going Tools > Selective Cookie Delete > Show Preferences > Shave preferences and remove cookies. One reason for clearing cookies mid-session rather than only at the end is that there have been reports in the news of, for example, airline companies using cookies to artificially inflate prices. However, bear in mind that your shopping cart contents and previously viewed products may also be based on cookies so you need to take steps to avoid losing the links to products you want to buy.
Method Two: more effective.
This method is a little more complex, but not by any means difficult for an average computer user. The main difference is that we will specify the exact cookie that we want to keep, rather than keeping all cookies from YouTube. In this method we will use the add-on Cookies Manager+ both for keeping hold of our HTML5 Trial cookie and also, for ease of use, for general cookie deletion (ie, we will use it instead of the Tools > Clear Recent History menu). Cookies Manager+ is licensed under the GPL compatible Mozilla Public License 1.1
1) First we go to Tools > Add-ons and search for “cookie”
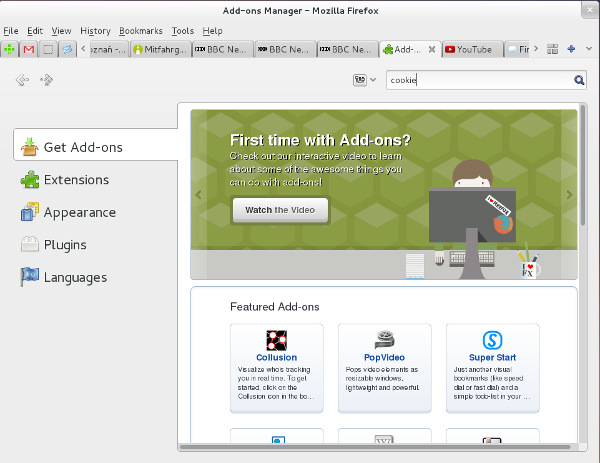
We need to look down the list for “Cookies Manager +” and click the install button.
![]()
Wait for the download to finish and restart as prompted

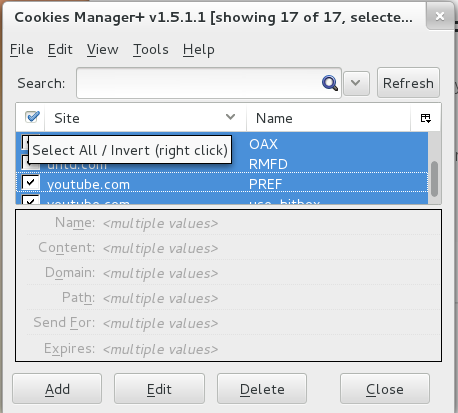
Once you have restarted go to Tools > Cookies Manager+ and you will see the Cookies Manager+ Dialogue appear. First of all, you are going to clear all your cookies so you can start afresh. To do this, tick the Select All box on the top left of the list of cookies. Then click on Delete.
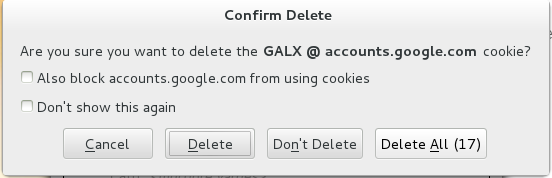
Confirm to Delete All.
Now close this Cookie Control+ window.
Now, you need to go to www.youtube.com/html5 to join the html5 trial.
Here you need to click on the Join the HTML5 Trail button. This will change the web page to say “You are currently in the HTML5 Trial”
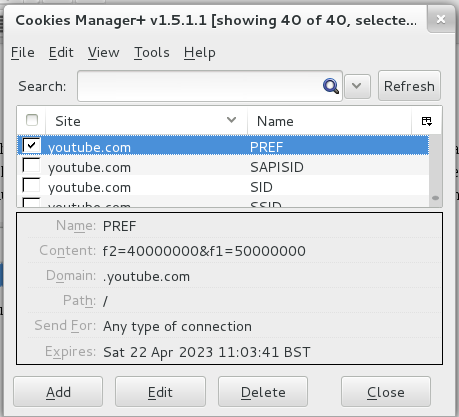
This action has set a preference cookie on your hard drive: this means that each time you visit YouTube the website will recognise you as a brilliant and forward thinking individual (and you will see videos in HTML5). You can, using Cookie Manager+ see this cookie. Go to Tools > Cookies Manager+ and you will that several new cookies have appeared. One of them is from youtube.com and is labelled PREF. This is the cookie that we want to always keep when we detele our cookies, because this is the cookie that ensures we view YouTube videos in HTML5 when possible.

So now we must ask our Cookies Manager+ add-on to make a back up of this cookie. We select it, just the youtube.com / PREF cookie:
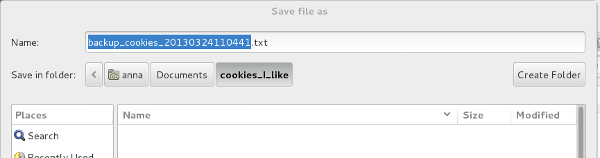
We now go to File > Backup/Restore > Backup Selected and choose a good place to store our cookie. I made a new folder called “cookies_i_like” in my documents folder.
Then, to try out our new backup and restore system, we must delete all our cookies again and restore the html5 cookie using our new backup file.
First of all, tick the Select All box on the top left of the list of cookies and click Delete.

Next go to File > Backup/Restore > Restore All
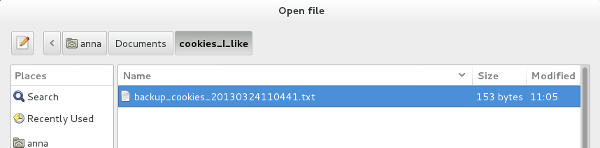
We then need to find our backup file that we made earlier, select it and click open. Our html5 trial cookie will then be resorted and we will continue see YouTube videos more freely by default.
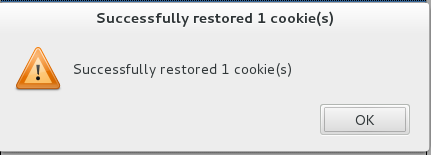
We can double check this by going back to the www.youtube.com/html5 and checking that we are still “in the HTML5 trial.”
Method Three? You tell me!
If you are an expert, please get in touch!
My ideas for improved methods are:
1) For GUI users this add-on seems better because it can no only isolate the exact cookie, but can automatically restore it (rather than the manual restore you need to use in method two): however, I could not get that feature to work, and still had to manually restore.
2) I found a script to isolate and keep the HTML5 trial cookie, however, I have no idea how to use it. Is this script effective? Could you write a beginners guide in how to use it?
3) Could this be built into Firefox? There was some discussion in the Tor project about building HTML5-trial into the browser: given that Firefox has worked so hard on HTML5 video, could we ask for trial inclusion to be the default?
4) Who can write guides for other browsers? So far I have had little success with HTML5 video in Chrome, however, if you know more, a guide would be great! Also, here is some information about the issue in Seamonkey.
5) What about Vimeo? I have also had very little success watching HTML5 video on Vimeo – what about you? Could you write a guide? Is HTM5 video in Vimeo cookie based too?
Ideas for more cookies to keep:
Which other in/out cookies should we think about keeping?
You may wish to look at locating and keeping the cookie mentioned in this video. This cookie is involved in disabling targeted advertising (but it doesn’t stop the data collection in the first place).
Do you have any more suggestions? Post a comment or email me at anna . morris @ fsfe.org
Cutting out a photo and removing white edges in GIMP
June 5th, 2013
This Blog is taken from my Ethical Pets Wholesale blog for small businesses.
Here is the problem:

When you view this image on a white background it looks fine, but when you view it on a black background (or other dark colour) then there are little white bits around the image. It may be tempting to try and remove these with an eraser effect – but that will take a very long time and won’t look as good. Here is a simple way of removing them using a mask.*
This guide uses GIMP – the Gnu Image Manipulation Program. The GIMP is a Free Software photo and image (raster) editor and you can download it, gratis, here..
 Right click on the layer in your layers dialogue and click “Layer to Image Size”
 Once you have opened your image, make sure that your image is on a layer which fills the whole screen by right clicking on the layer in your Layers dialogue and clicking Layer to Image Size.
Next You need to duplicate the layer. To do this you right click on the layer again in your Layers dialogue and this time choose Duplicate.
 Right click on your layer and select “Duplicate”.

Next turn the duplicate layer into a black and white version. To do this click on the layer, and in the GIMP menus go to Colours > Threshold. When the Threshold dialogue appears drag the arrow all the way to the left. You are aiming to have an image where the background it totally black (or transparent) and the area with your image in is totally white.

Other dialogues, such as the Brightness-Contrast option, also under Colours, may be helpful in this stage of the process.

 Use the Select by Colour button to select the BLACK / TRANSPARENT area (not the white)
Select the black / transparent area of your new layer using the Select by Colour tool. Go to the Select menu and click Grow. Choose a small number of pixels, depending on how much white you have. I have chosen 4 pixels. Click OK.

If you zoom in (use the plus / add key) you will see that the selection is now a few pixels closer to the centre of your logo than it was before.
Press your Delete key (depending on your current layers and transparency set up you may or may not see a noticeable change). Go to Select > None.

 Right click on your layer in your Layers dialogue again and this time select Add Layer Mask. In the Add Layer Mask dialogue click Greyscale copy of layer. You will see your layer mask appear next to the layer in your Layers Dialogue.

Go to Edit > Select All (or try using Control+A) and the go to Edit > Cut (or use Control+X). Click on your logo layer then right click and Add Layer Mask. This time choose White (full opacity).

You will see a new Layer Mask next to your logo.
 Go to
Go to Edit > Paste (or Press Control + V). You will see the layer mask you made with your Duplicated layer appear in the layer mask for your original logo layer.
If you now look at your logo with a black background behind it (try Layer > New Layer if you need a dark layer) you will see that the white bits have been cut away (they are actually only hidden at this stage, if you right click on your logo Layer and click Disable Layer Mask you can see your logo is untouched).

If there are any white parts left, right click on your logo layer (not the duplicate) in your Layers dialogue and click Mask to Selection. Go to Select > Grow and chose a small number of pixels again. Press OK. Press your delete key. Notice that more of your logo has been hidden. Repeat this until all of the white parts are hidden. Save your file at this point especially (File > Save or Control+S)

Last of all, you need to apply your layer. It’s probably worth saving the document as something else first to allow you to make changes to your mask in the future if you need to. I saved mine as Logo_Perfect.xcf (xcf is the gimp format. I will export it as a .png or a .jpg later). When you have saved your file right click on your logo layer in your Layers dialogue and choose Apply Layer Mask. You will see the mask has gone and the white parts have now been properly cut away, and not just hidden.

You have done it! Well done! 🙂
*You could use this guide to cut out the whole image from scratch. This guide is is useful too (but out of date). Also, there may be other ways to do the task I have described, this is just the way I figured it out first 🙂
kdenlive image clips always wrong size – part two
June 5th, 2013
Hi, this post part two of a thread relating to a forum post on the kdenlive forums here where I am discussing the issue of image clips. Part one is here.
So I now see that if I import a video clip, choose the recommended profile suggested by kdenlive, and then add a image clip from the same camera then the problem desists:
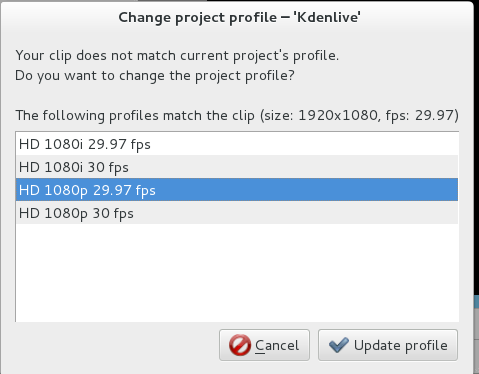
there are the settings and here is the image showing perfectly
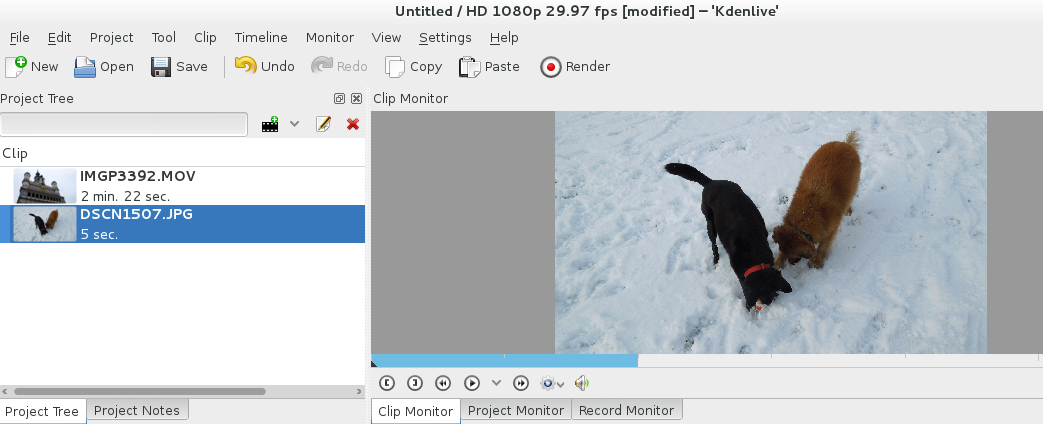
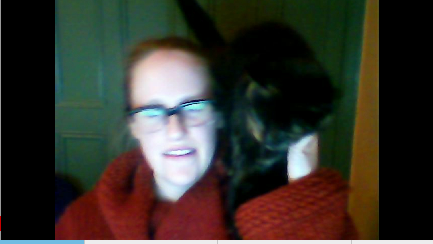
however, then photos from other cameras have the problem: here are ones from my phone, my nikon coolpix and my webcam:


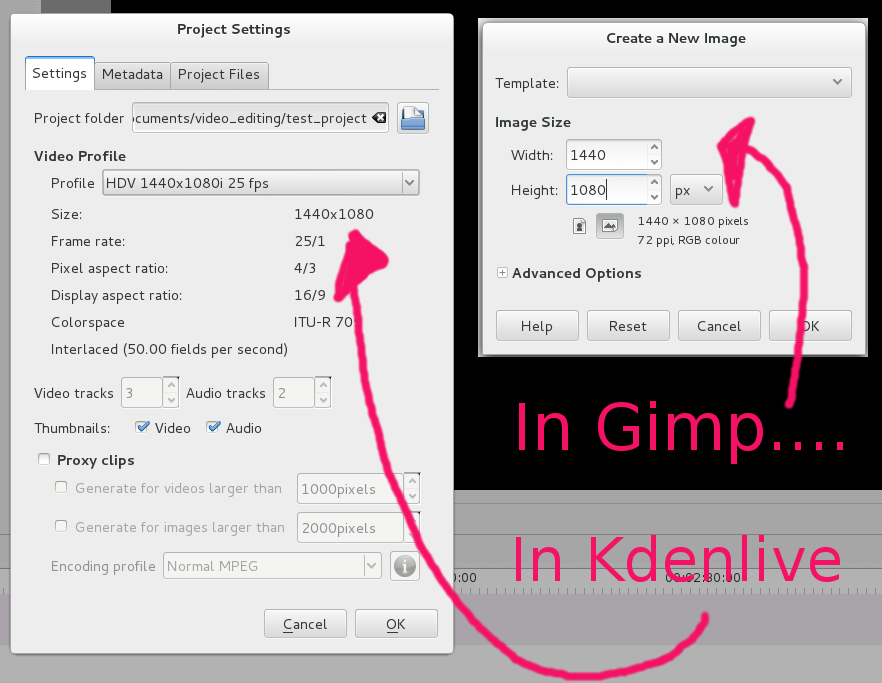
Also, my pink clip which is 1080 x 1440 looks the same:

I accept that I may be a little slow on the uptake with understanding this, and that, as I am not from a video background, I don’t know much about the size that pictures are supposed to be – however,
a) I still think there must be a more attractive way for kdenlive to handle the issue and
b) There needs to be a clear manual somewhere relating to this issue for other people like me (of which there are many!). I am happy to write it if i have help!
kdenlive image clips always wrong size
June 5th, 2013
Hi, this post is relating to a forum post on the kdenlive forums here where I am discussing the issue of image clips. I have prepared an example to illuminate:
If I make an image in gimp the same size as my video dimensions:
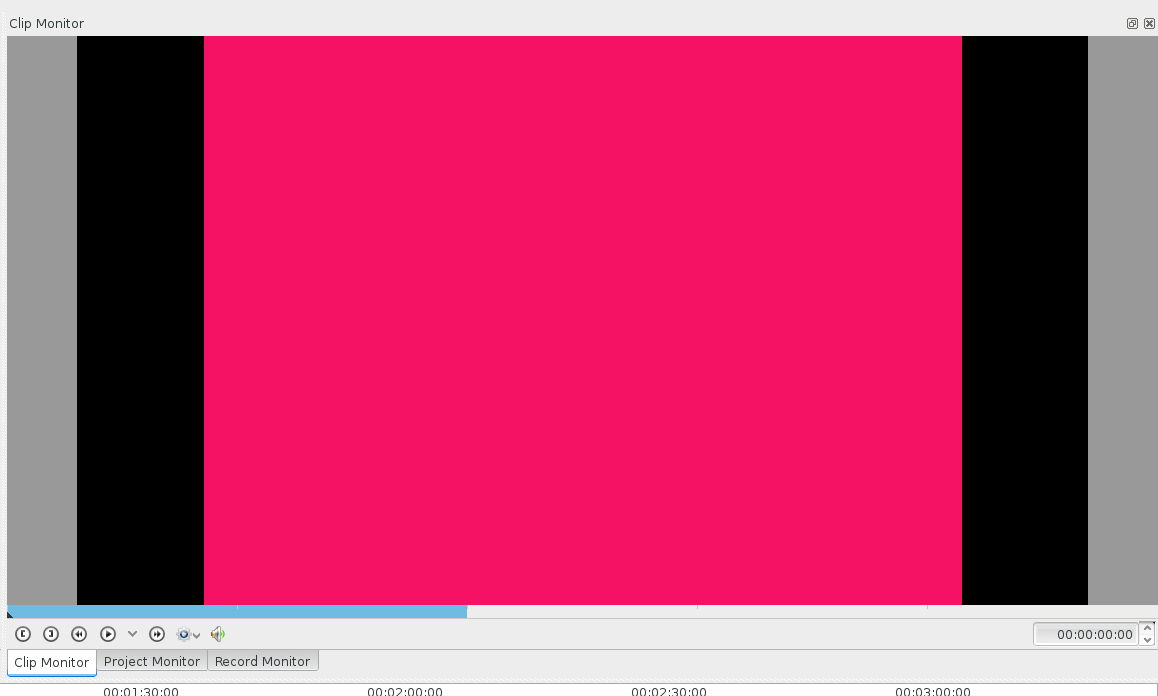
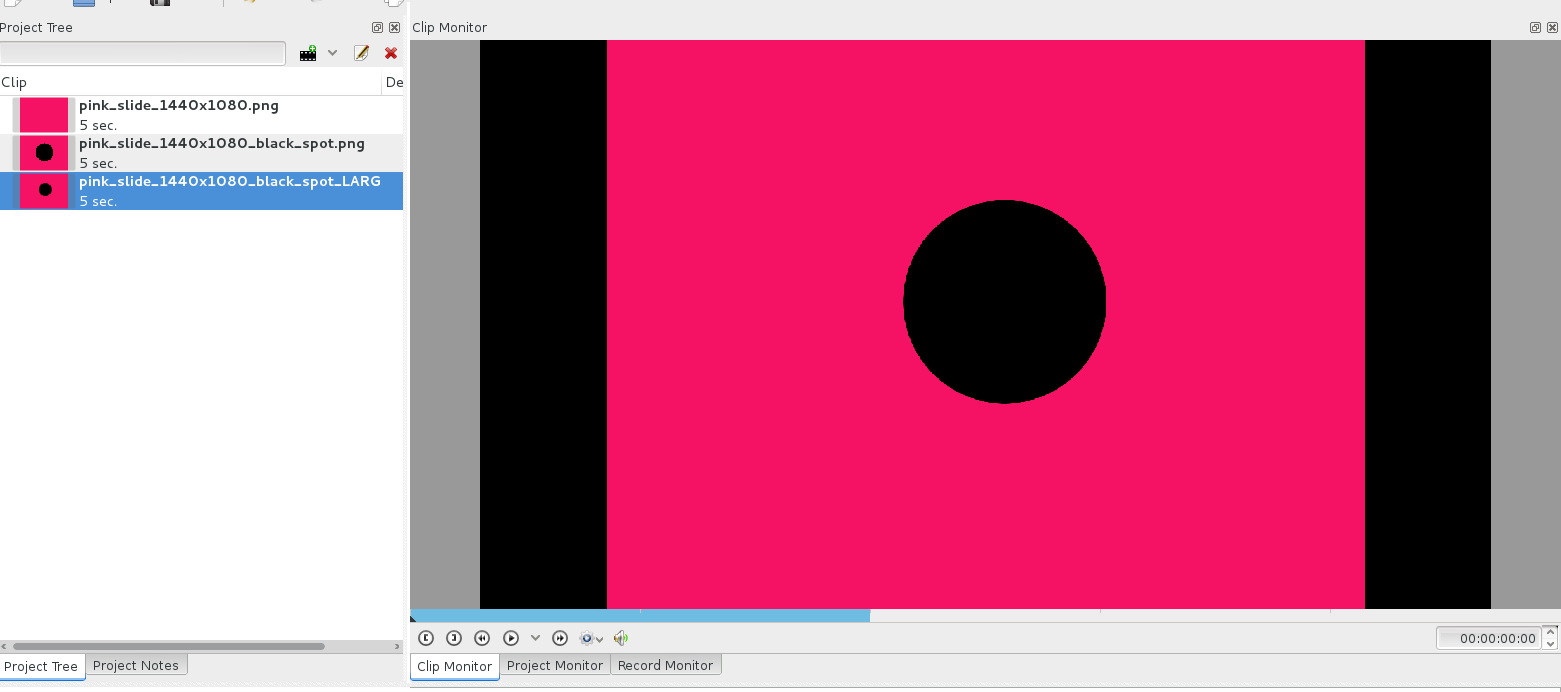
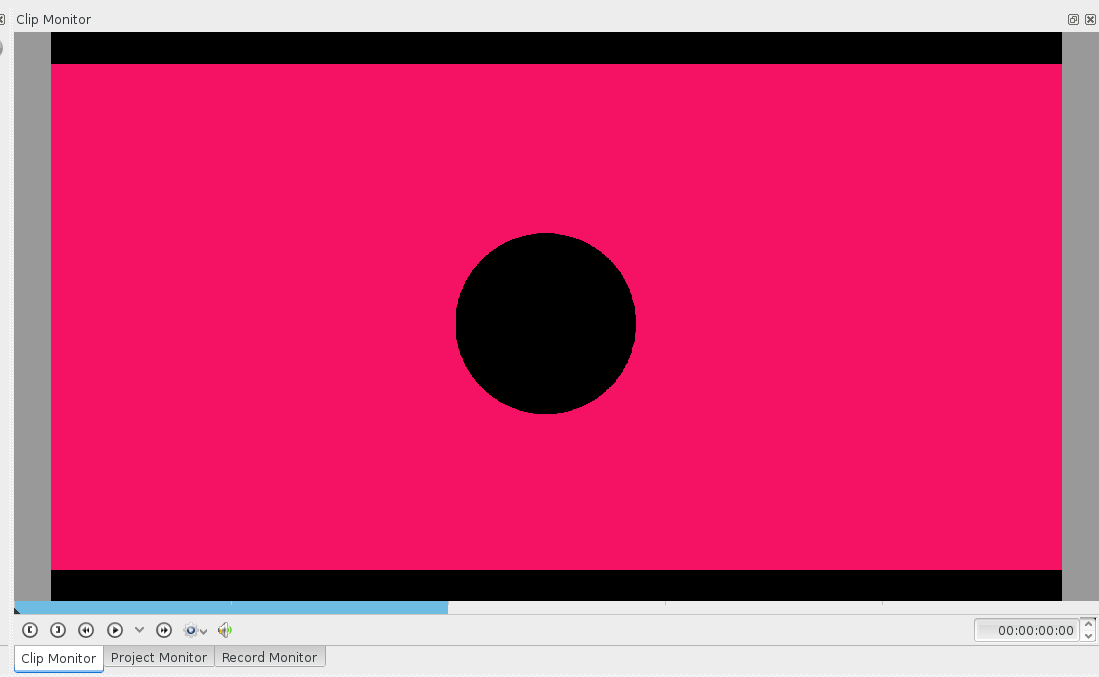
And then import the image as a clip into Kdenlive (using the add clip menu or button) then the clip looks fine in the project tree, but in the project and clip monitor, you can see two black bars down the side.
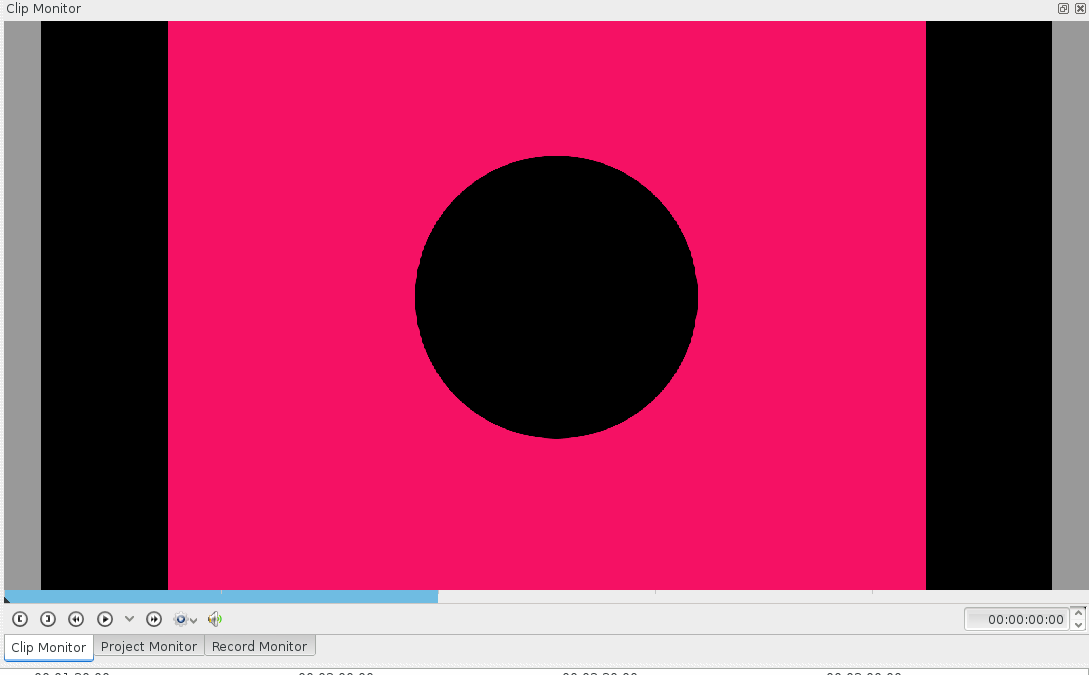
If I, say, add a clip with a circular black on it, the circle you can see that the aspect ratio of my image seems to be maintained while the size seems to be incorrect.
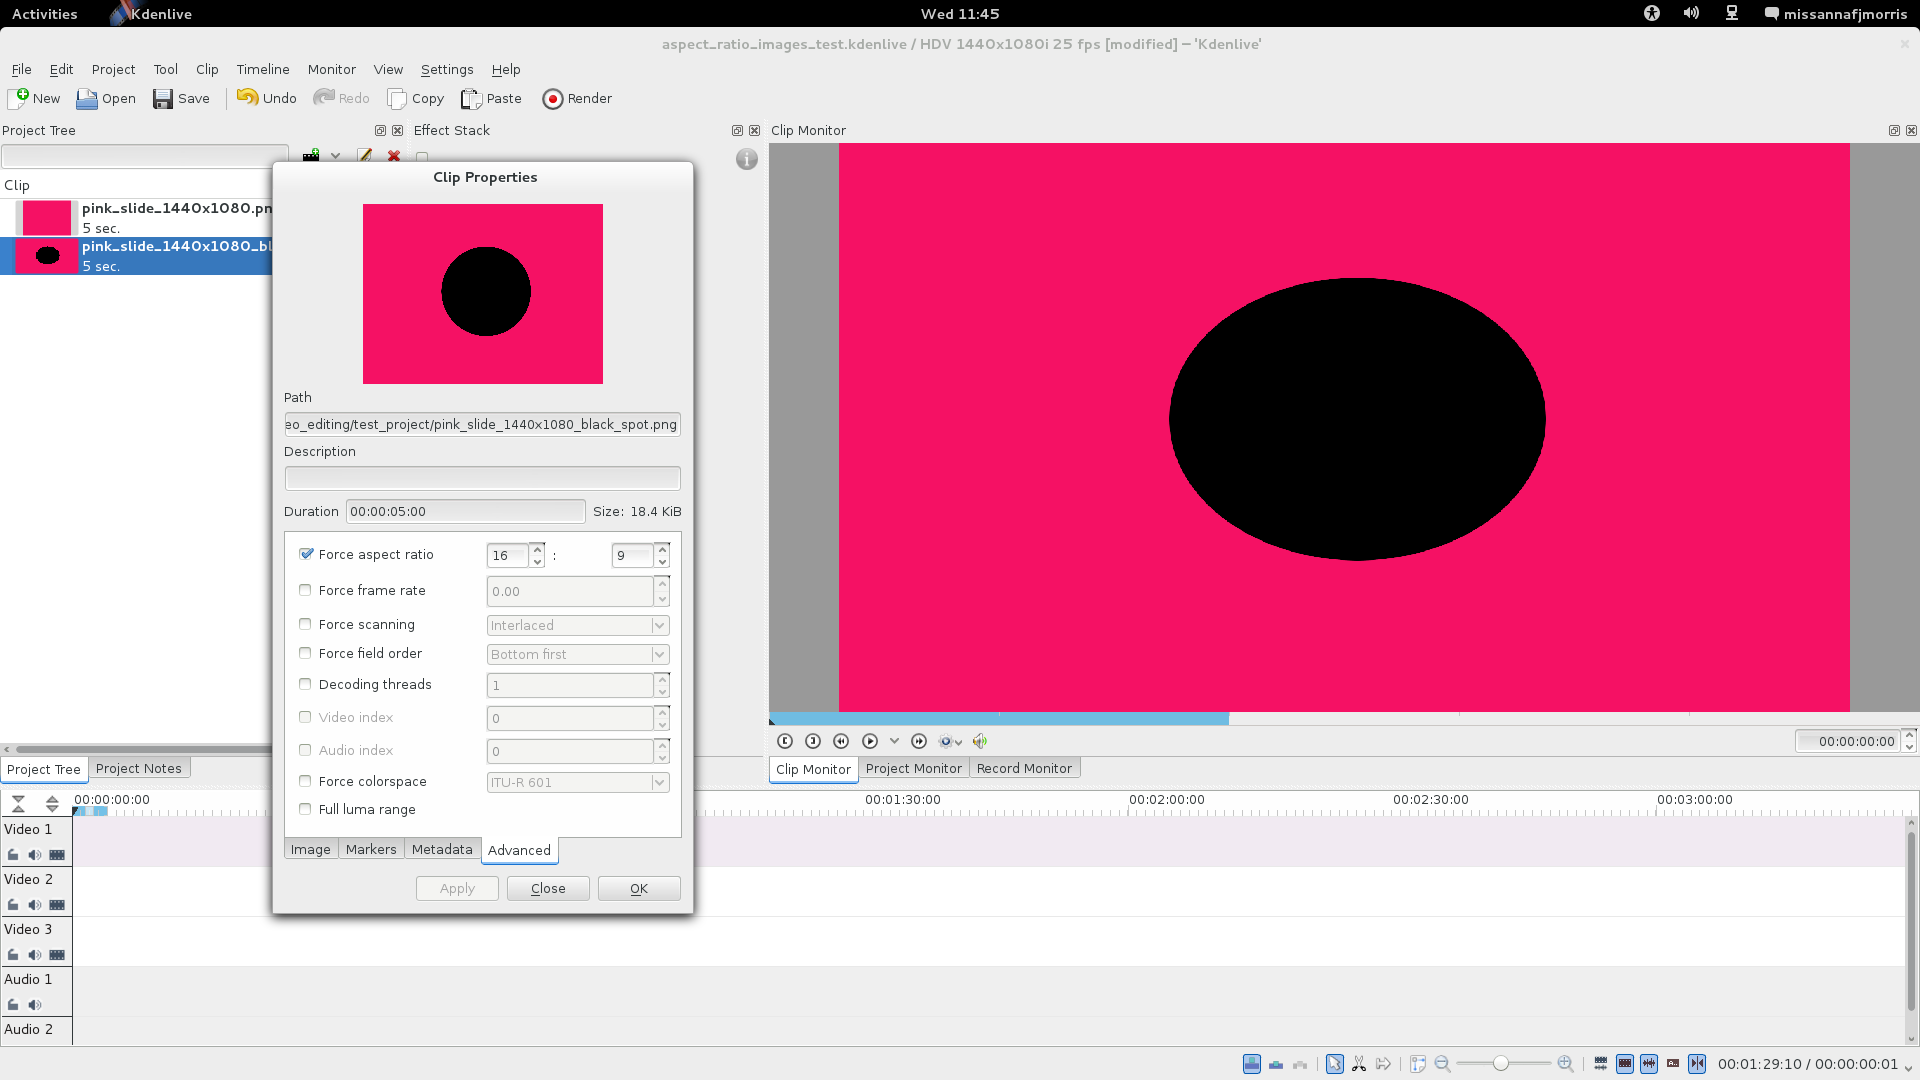
If I force the aspect ratio using the clip properties menu this is the result:
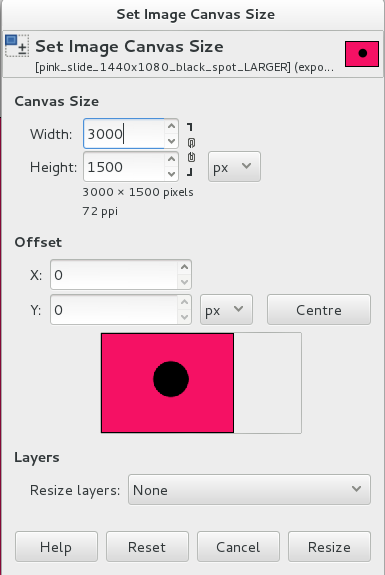
If I make the a larger image clip:
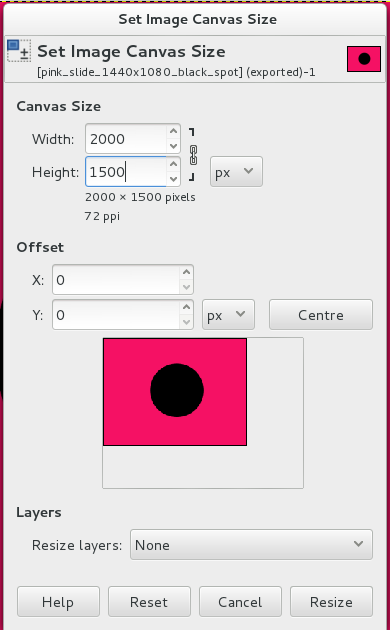
then the clip looks the same at first in kdenlive, but notice that on the left, in the project tree, the spot is smaller (when in gimp it is the same size)
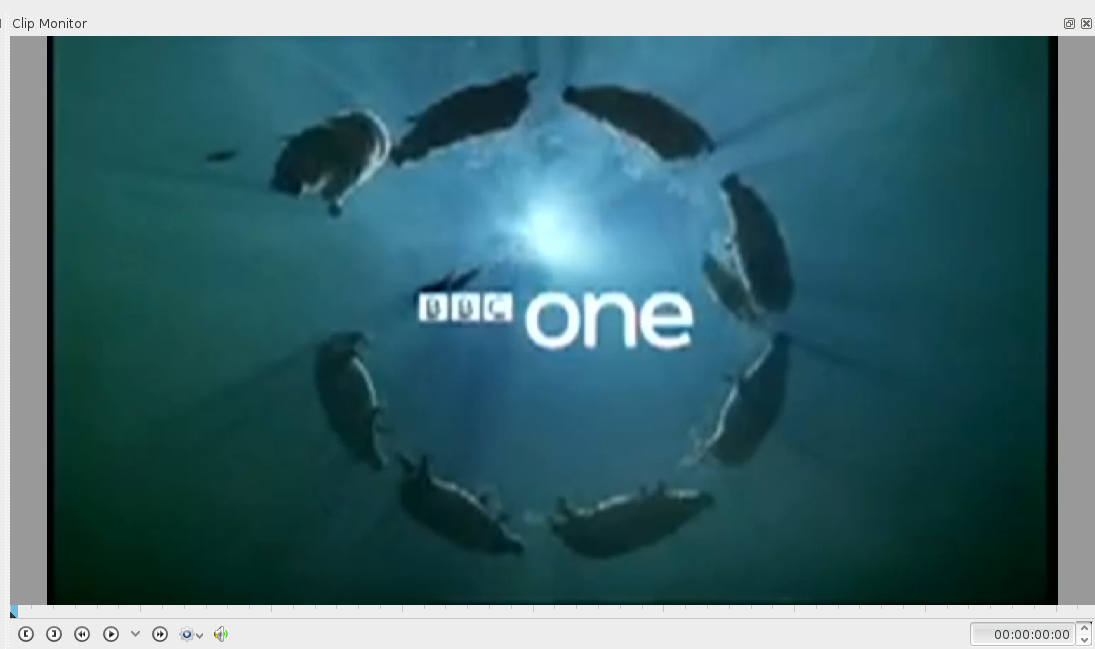
Here is a video clip which VLC reports as being the same size as my image clip and my project:
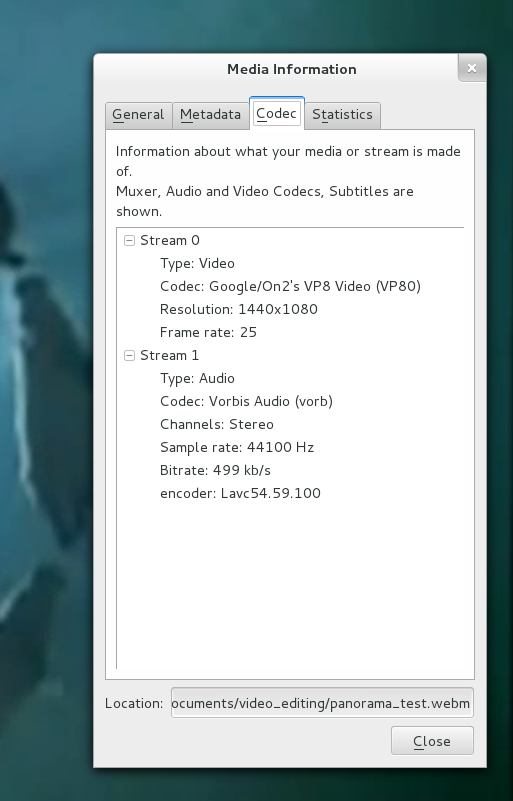
It looks totally different, indeed almost the correct size, in my clip/project monitor:
So video is either different to start off with or is treated differently by kdenlive.
Anyway.
If I make my clip wider I seem to make some progress:
The extra width seemed to help – but the hight now seems to be lacking where it was fine before. An aspect ratio issue? I wonder if it is to do with square and non-square pixels?
I am sure, after much messing around I could find a size of image that seems to display correctly in kdenlive (indeed that’s one of the things I have tried in the past) though I am sure all of this will involved a lot of work with actual photos and be a real pain in the backside to achieve. Primarily, I don’t understand WHY this is such a big problem in the first place. It really shouldn’t be!
It FEELS like there is an ugly default setting involved here – for example the second image I made that was larger but still took up the same space and had the same area missing on the monitor in kdenlive, I assume because it had the same aspect ratio. Surely there could have been more sensible for kdenlive to handle the problem? Maybe it could automatically “crop” a little of the top and bottom rather than shrink the image to fit in the space. That is how, for example, digital printing booths deal with the issue of wrong aspect ratio (given that the top and bottom of a photo are usually ripe from cropping anyway).
The only way I have found to achieve this within kdenlive is to zoom in on the photo – but that results in pixelation, so it looks like kdnlive is actually shrinking the image on import as otherwise the zoom should not cause quality loss until it surpassed the size of the original image? Or maybe I am totally wrong. No clue! Will keep this post updated with whatever occurs on the forum.
A photo montage is one of the first things a newbie might try and make, and yet its not exactly simple to get images right.
phplist hosted: how to use a template to send an email
May 30th, 2013
This blog is the product of help I am giving to the Manchester Peoples Assembly, who would like to send a few emails a month to about 700 people. I have volunteered to set this up for them, I am using only free software, and I am using the taxt to expand my blog section on phplist hosted. This guide is mainly a guide for Penny, who will be sending the emails, but 90% of it will be reusable for anyone 🙂 Have fun!
This blog assumes you already have your template ready and a phplist hosted account already set up (guide to follow).
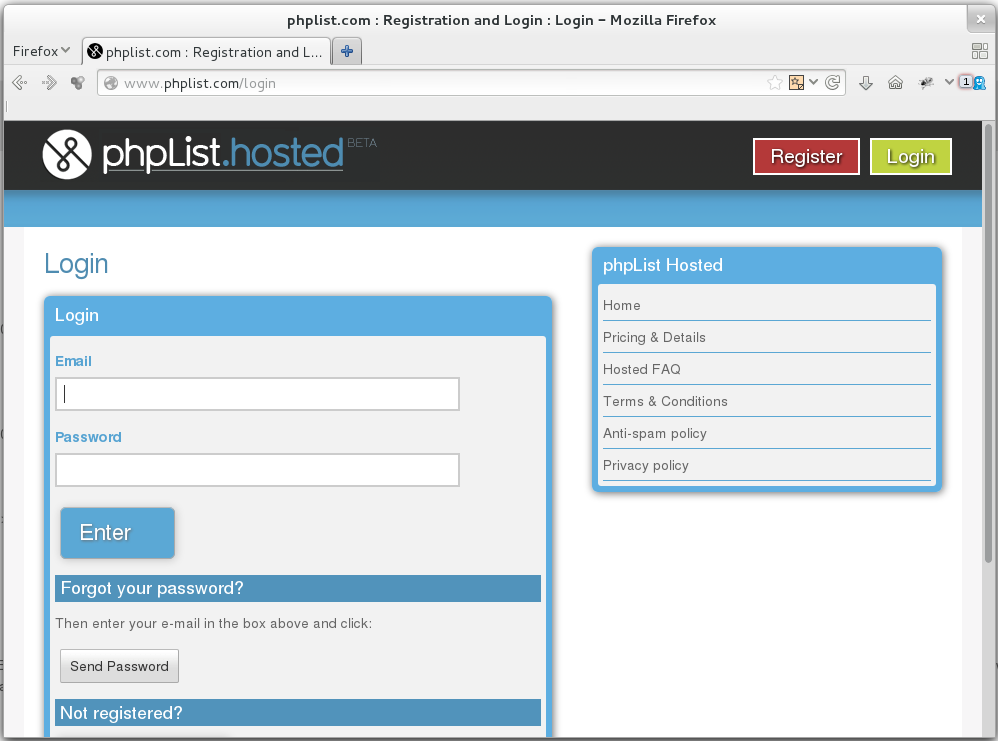
1) Log in to phplist.com/login
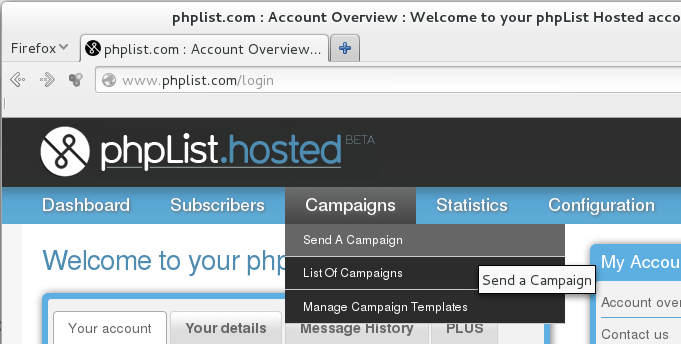
2) Click on Campaigns > Send A Campaign
3) Click the button which says start a new campaign

4) Open your template file in a text editor, you can follow step two here if you don’t know how. Once you have your template open, select all of the text and copy it. Next, go back to your web browser and click on the little tab which says Source
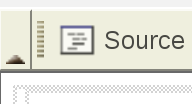
Paste your template into the box. Click on the source button again and you should see your email template, ready to fill out.

5) You can edit the text here, bear in mind there may not be a spell checker. If you decide to copy and paste the text in, please paste the text into a text editor first to make sure there is no stray formatting from inside your word-processor (this is important). Example 3 here will tell you more.
6) At this stage, you should save your work. Note – its a VERY good idea to go to the Source button, select and copy all of your code, and then paste it into a text editor, before you press save. This will create a back up just in case your login has timed out or similar. If the save fails, you can simply paste the code back in again 🙂
7) Once you have saved your work, go back into the message. The message will be stored in the “draft” campaigns tab. It’s now time to work on the footer box of the editing window.
8) Open your footer template in your text editor. Select all the code, copy it. Then go back to your browser and select all of the code in the “footer” box – press delete. Then paste your footer code into that box. The whole process is shown in image below.

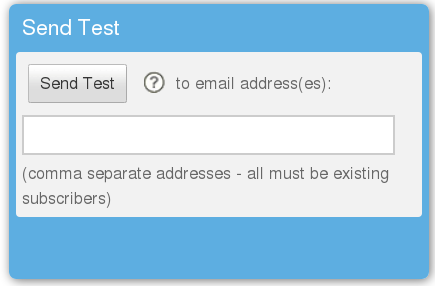
9) You can now send a test to yourself. In this instance you should use the email that the account is in, as it is simplest. Enter your email into the box and press send. Note that you can only send one test a minute.
8) Keep changing and testing until you are happy.
9) When you are ready to send, you need to make a copy of your email and host it somewhere on-line so it can be linked to the email (at the top, where it says “view in browser.” This is for people who’s email software can’t handle fancy html emails very well. In this instance, I will be hosting the email so you need to call me 😉
10) I will send you back a link which you will need to pop into the email (I will help) and then you are ready to send!
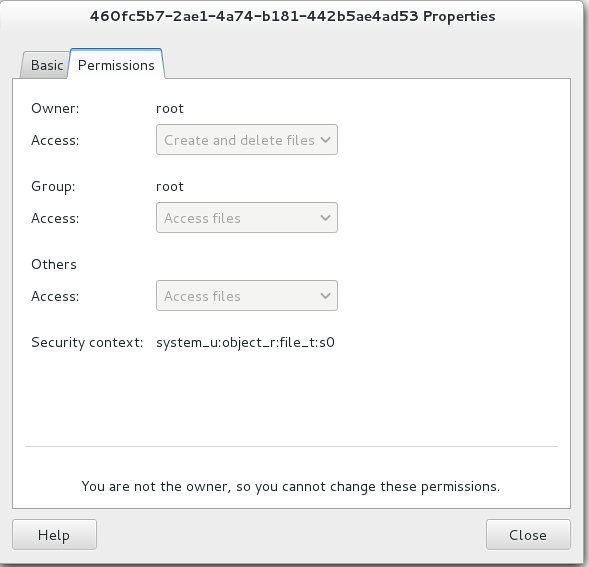
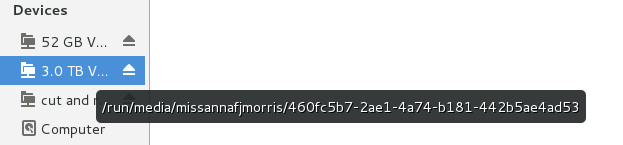
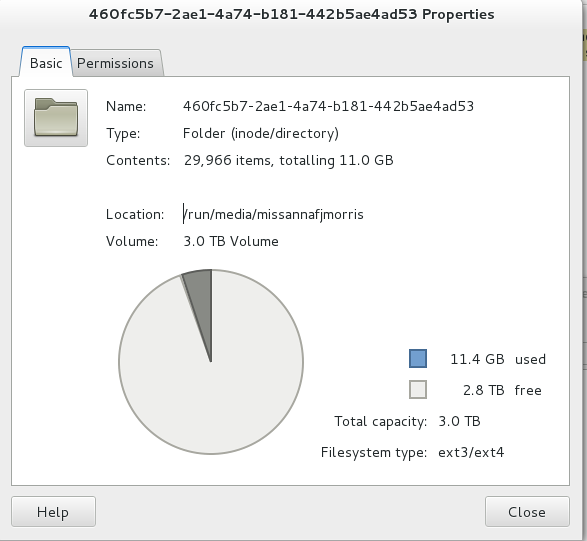
Formatted a drive but “you are not the owner, you cannot…”
May 17th, 2013
![]()

Setting up GPG keys on second machine: importing your existning key
May 13th, 2013
I had a little trouble today while trying to set up my GPG encryption on a second computer, using Wnigmail. The key importing process is rather unintuitive. Once you install Enigmail on your second machine, the natural thing to do is run the Set-up Wizard, which appears to give you the option to import your public and private keys. Once I had found out how to export my keys from my current set-up, I discovered that they get exported as one file, not two, but the set-up wizard wants you to import using separate files, one for your public and one for your private key. After a while I found needed to import them using a separate process. Here is what I did:
To export current GPG pair: In your email client go to Open-GPG > Key Management. I found my key by clicking the “display all keys” box on the window, but un-clicking “Display keys from other people” in the View menu. Selected your key by clicking on it, so it is highlighted in blue, and go File > Export keys to File. Click the option to “include your private key” and save the file to a memory stick or external drive (don’t email it to yourself!)
To Import current GPG pair on a second machine: Go to that same dialogue on your new machine, under Open-GPG > Key Management. Go to File > Import keys from file. Chose your file and import them. You should now be set up. You can check by trying to read an encrypted mail – if you don’t have one, send one to yourself from your other machine.
All done!
However, I think the set up wizard needs some work!!
Anna
xxxx
Experiment: There may be confidential content in your search results. Please do not share outside Google. – Missing Q and A’s?
May 11th, 2013
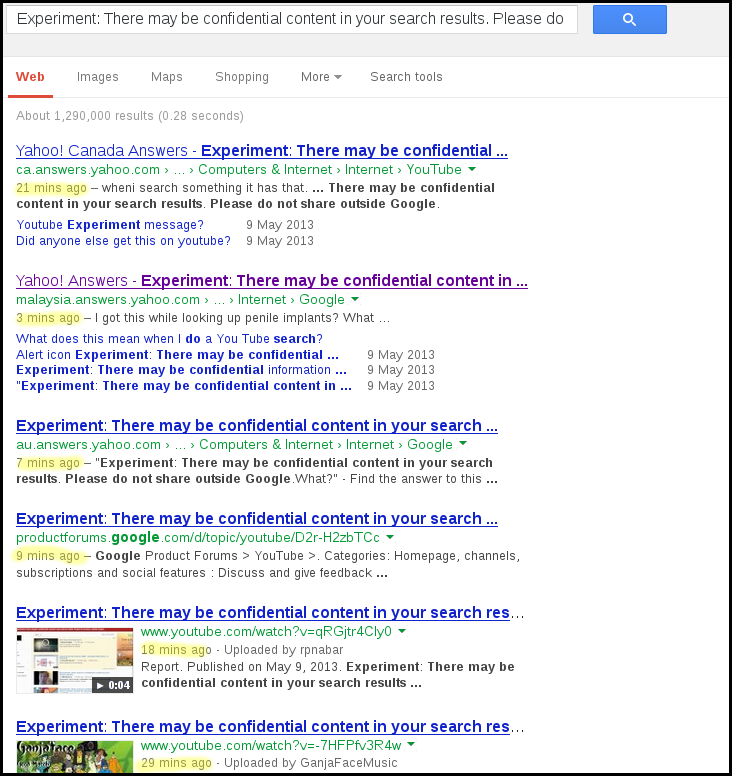
as a follow up to the recent “Experiment: There may be confidential content in your search results. Please do not share outside Google.” incident which I blogged about here, I searched for more info using Google. Found a few odd little things…
Some* questions about it on Yahoo have been removed.
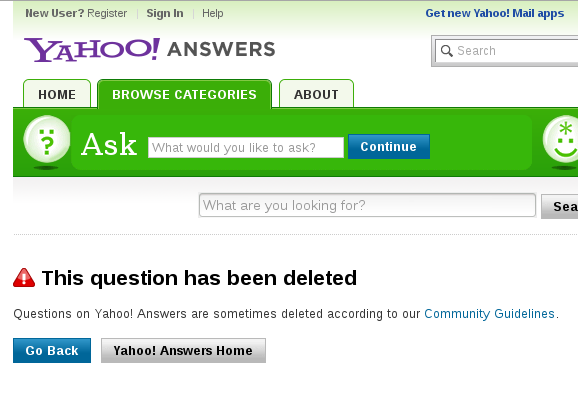
I wonder which part of their Community Guidelines forbid discussing GoogleBugs?
Perhaps stranger still, looks like some user replies have been deleted and some redirects have been made too.

A little later in this thread, some one named epontius said that other threads had been redirected to this single thread because “This one is being monitored by staff… so the other threads concerning this issue have been redirected to this one to keep things in one place.”
Given that Google recently proclaimed search results should be impartial (and so should not (necessarily) be included in the “right to be forgotten” protection), I really trust that they wouldn’t mess about with links and users questions for something so trivial as a technical hiccup….
jus’sayin…
* (one or more, hard to tell: several links in search results but all leading one URL)
Experiment: There may be confidential content in your search results. Please do not share outside Google.
May 9th, 2013
What are Google up to?
Was looking for database tutorials on YouTube when this appeared:

I Googled the text and found it was practically vial, people asking about it with posts every few mins:
What are they up too? Could this relate to privacy issues? Are they toying with us? Do we disobey and share all of the things we find “outside of Google”
What does “outside of Google mean?” – on another search Engine? Off-line?
Twitter seems to be intrested in discussing the issue…
Tweets about “Experiment: There may be confidential content in your search results. Please do not share outside Google.”
//